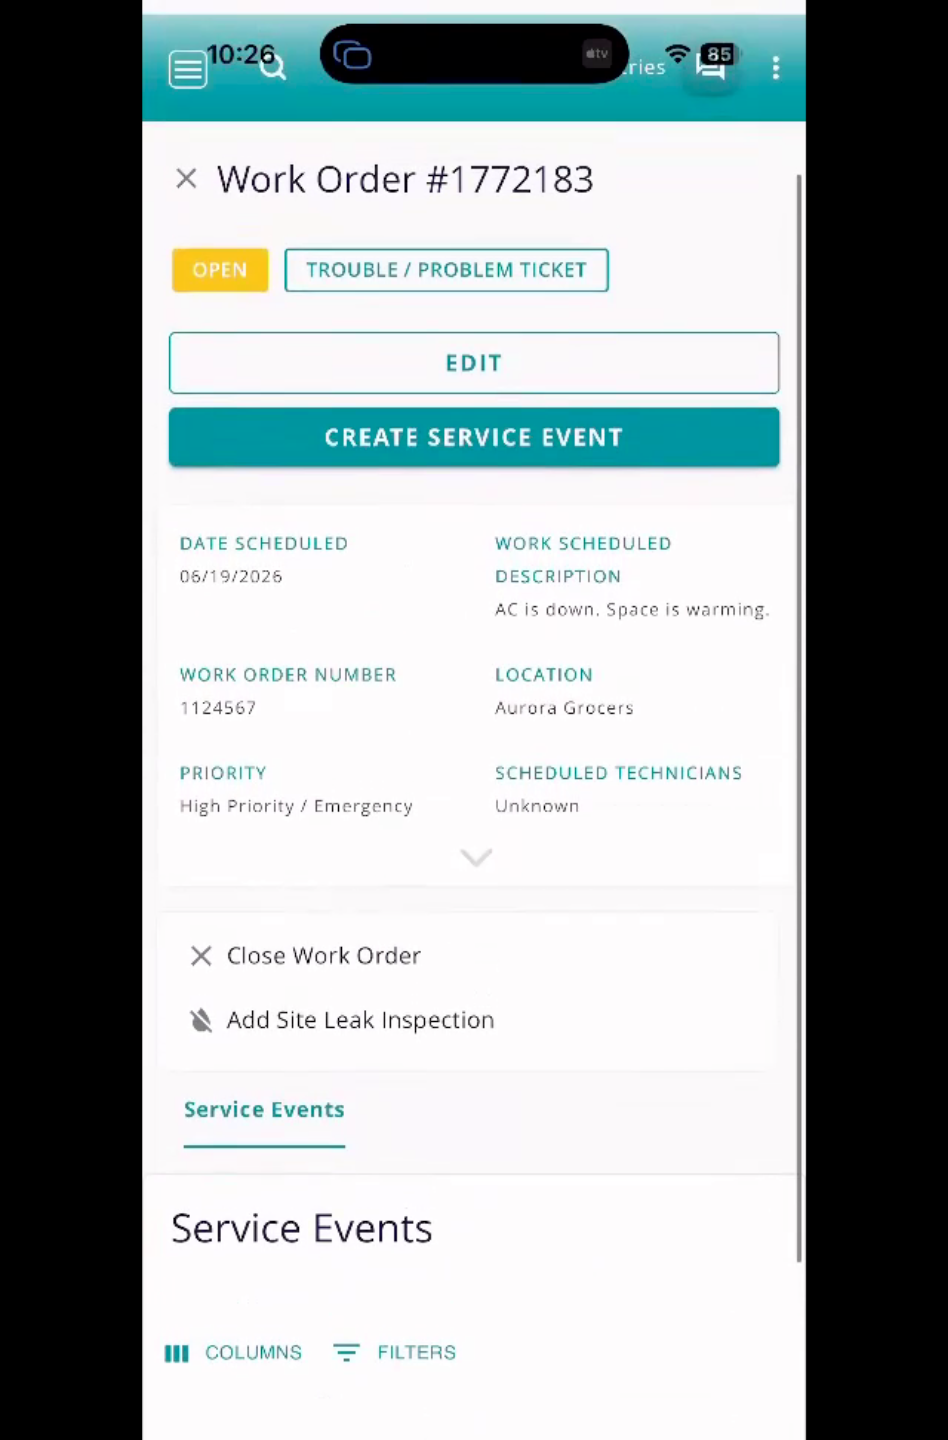
This video demonstrates how to create and manage a service or leak repair service event within a work order. It covers selecting assets, entering leak details, recording repairs, and completing the service event in the TrakRef Mobile Experience.
1. Creating a Service Event
Now that we've created our work order, we can add a service event. To create a service event while in the work order, click the blue create service event button.
2. Select Asset
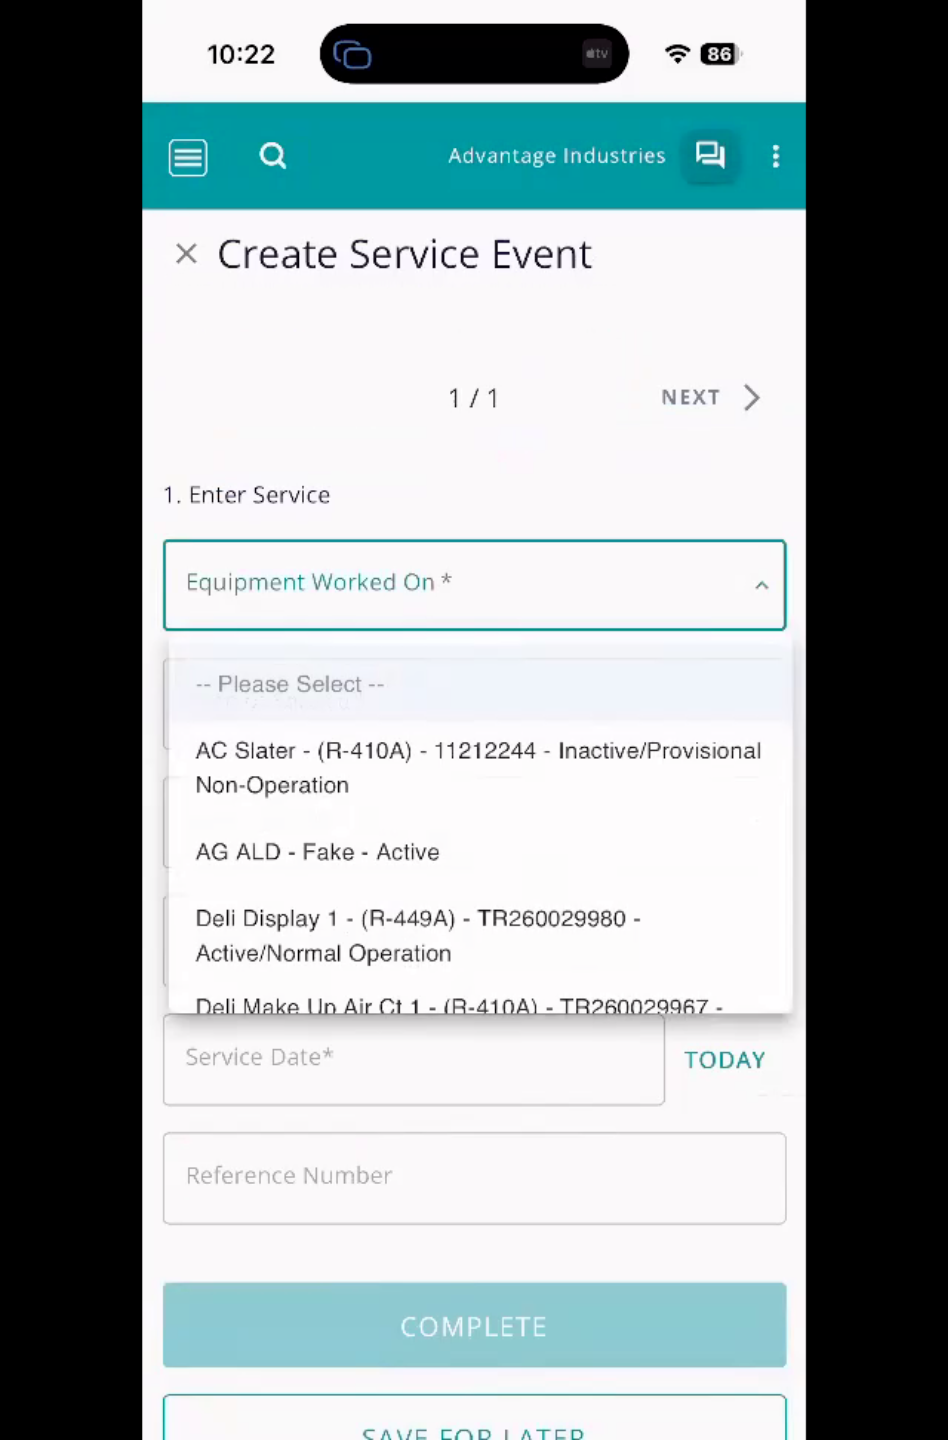
We'll select our asset. We'll scroll through and look using the drop down option. You can see the name of the asset, the refrigerant type, and the serial number.
3. Choose Service Event Type And Technician
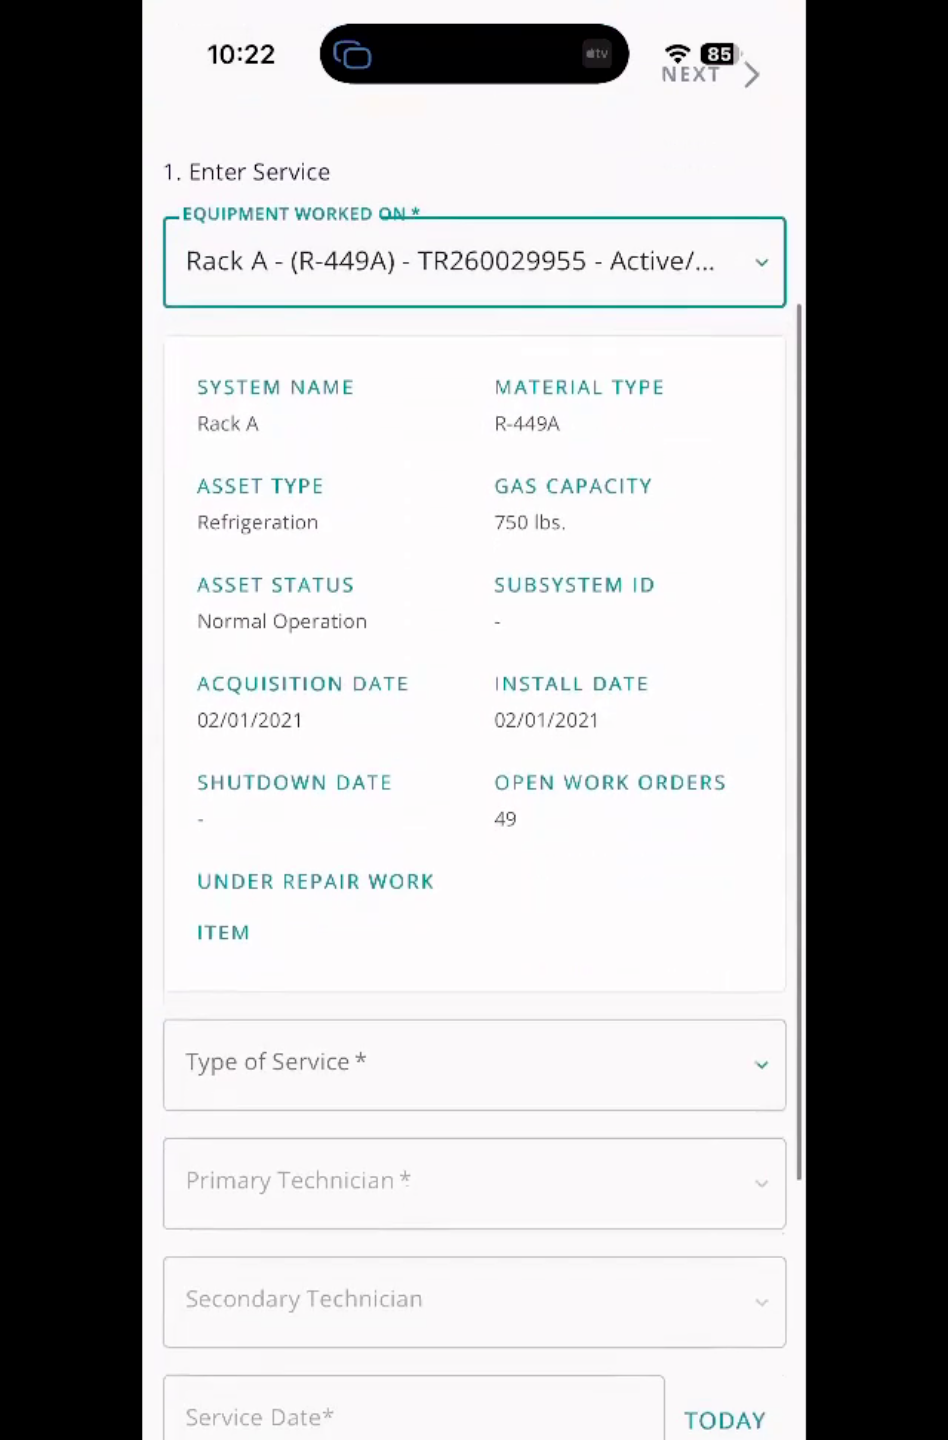
We'll select your type of service. In this scenario, we're going to do the service or leak repair. This is the only event that lets us fix a leak. We'll fill in the primary tech. We'll fill in the service date. And we'll continue on with next. The rest of these fields are not required, so we'll skip them.
4. Leak Detection And Date Entry
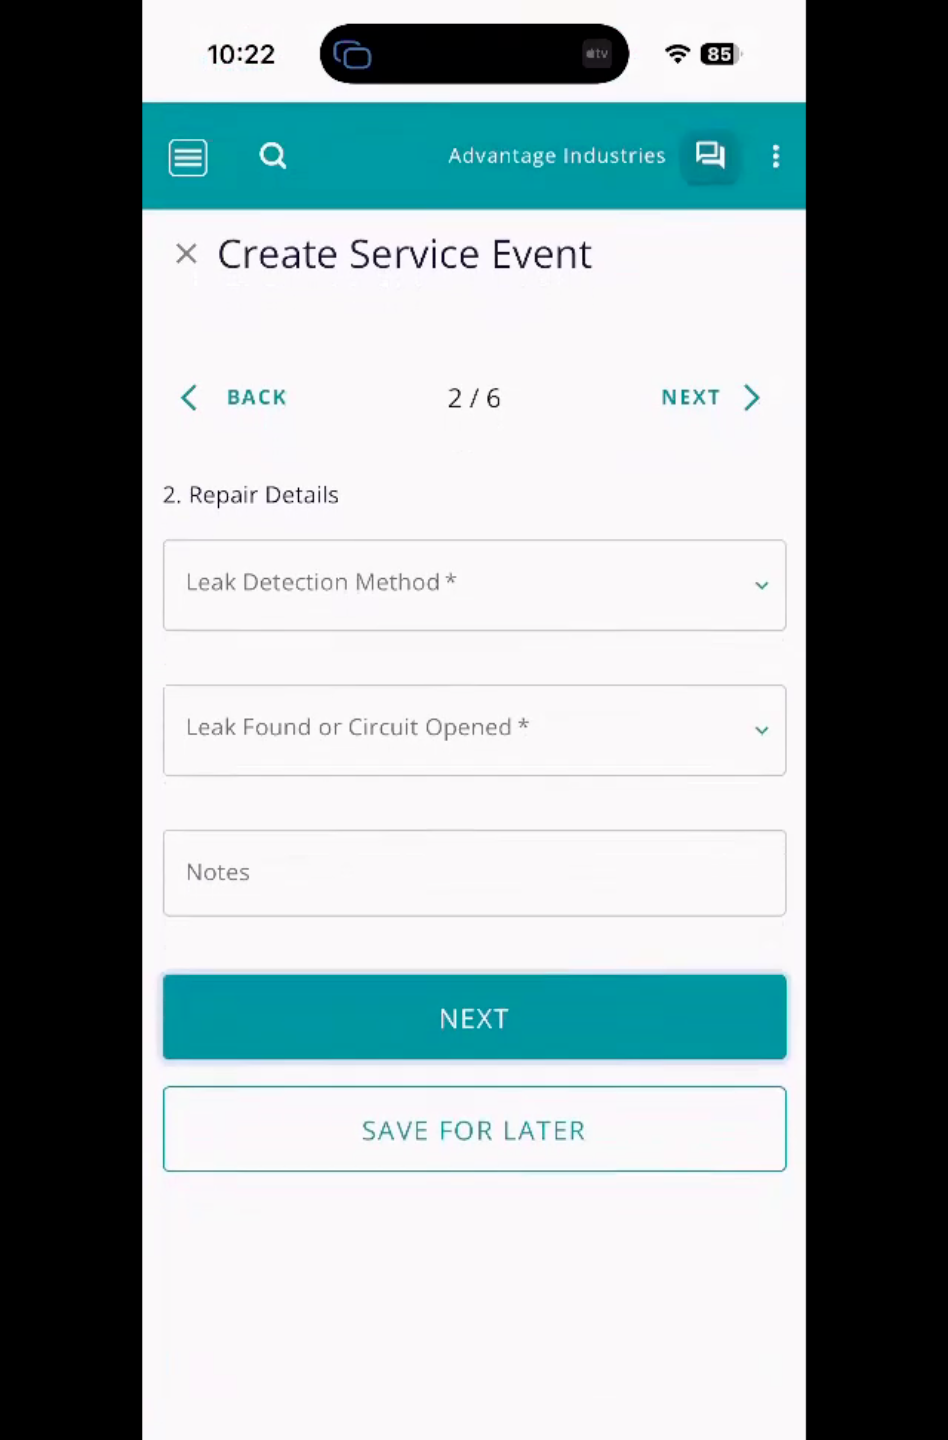
We're going to talk about what we did to look for a leak and whether a leak was found or a circuit opened. If the circuit was open to replace a compressor, we'll say yes and treat it the same as a leak. In this scenario, let's say we found a leak. If the leak was found prior to this date, you can backdate the leak date found, or if you found it today like I did, you can make it the same.
5. Select Leak Location And Cause
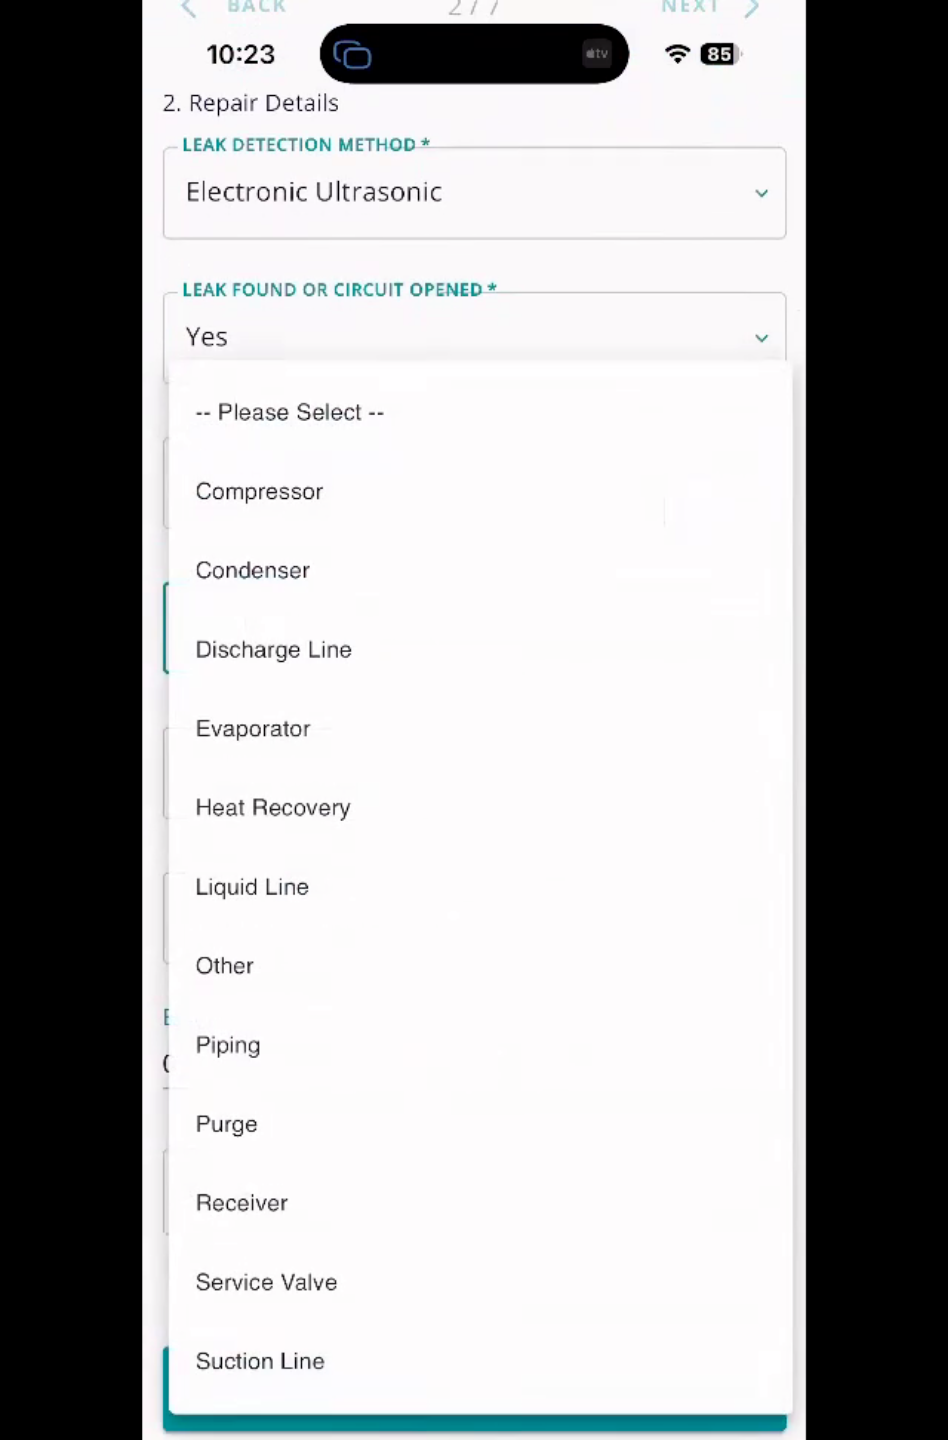
We'll pick our leak location, we'll pick our component, and then we're going to pick the cause of leak. That's all that we need to fill in here for step two, so we'll go ahead and hit next.
6. Enter Repair Notes And Actions
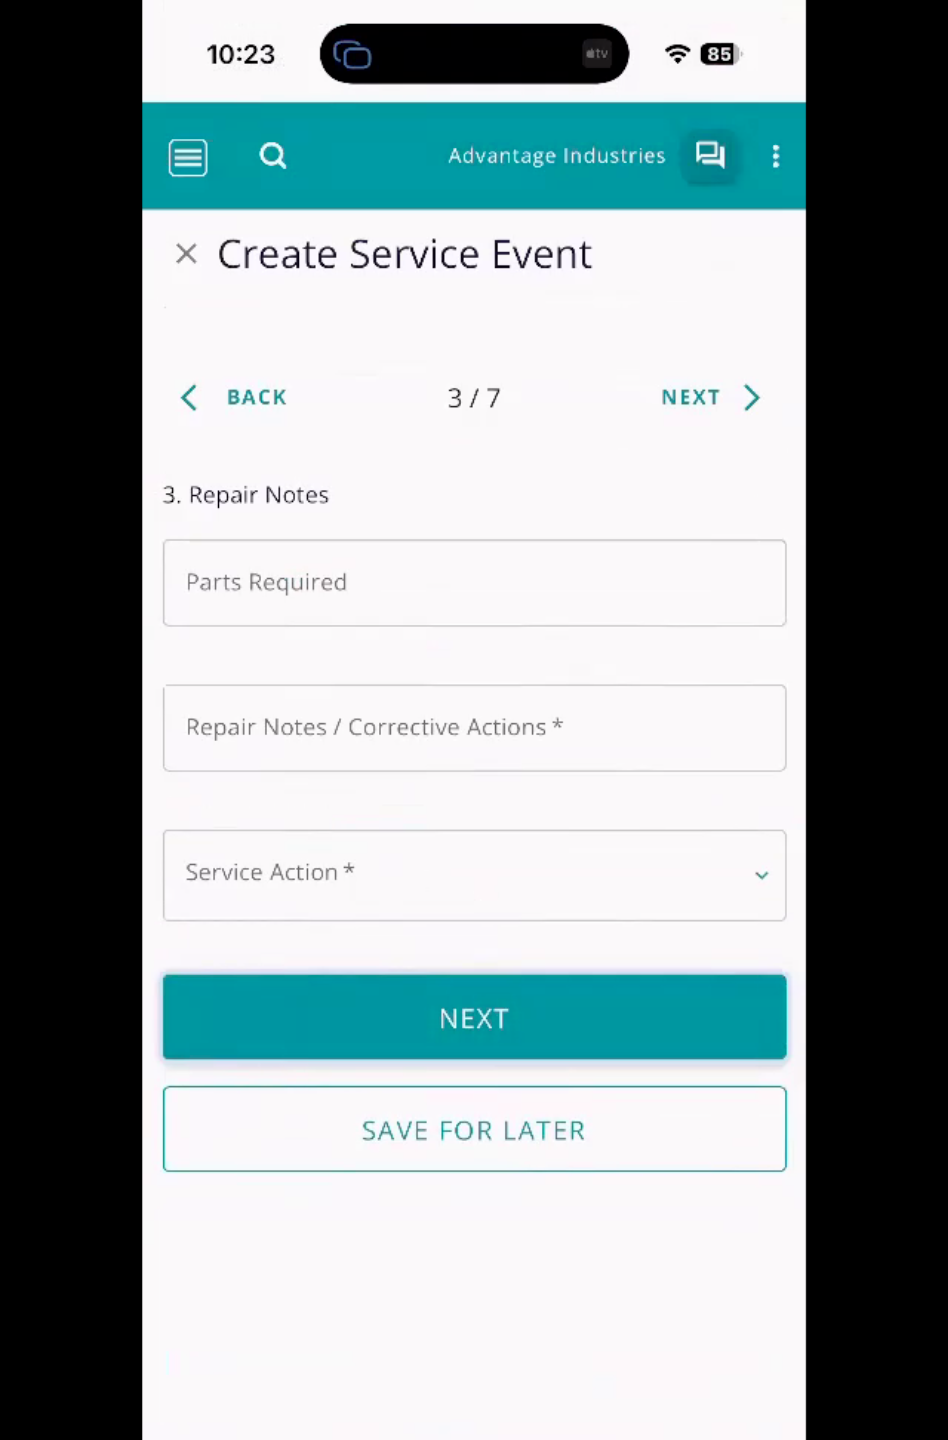
Step three is the actual repair notes. This is where you put in your technician notes. Then we'll put in our service action and hit next.
7. Gas Recovery Cylinder Selection
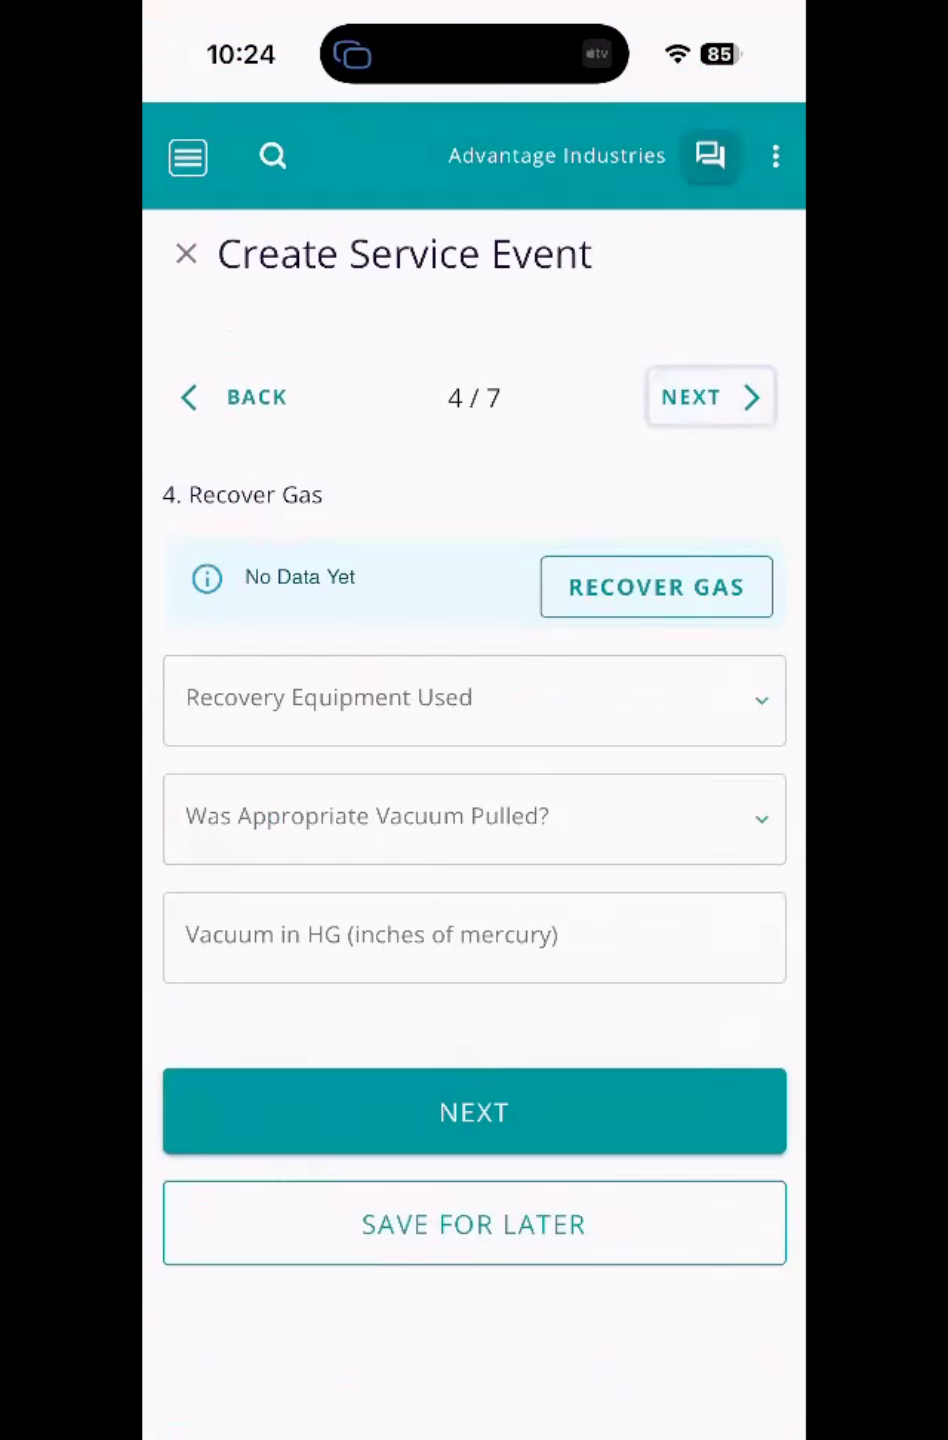
If any gas was recovered, this is where we use our cylinder and select a recovery tank. In this case, you can see we have an unknown cylinder in case we didn't use a tagged cylinder. Unknown cylinder is the placeholder for customers that do not tag cylinders. In this scenario we'll select a tagged cylinder and then we'll put in the amount recovered.
8. Recover Gas Process And Verification
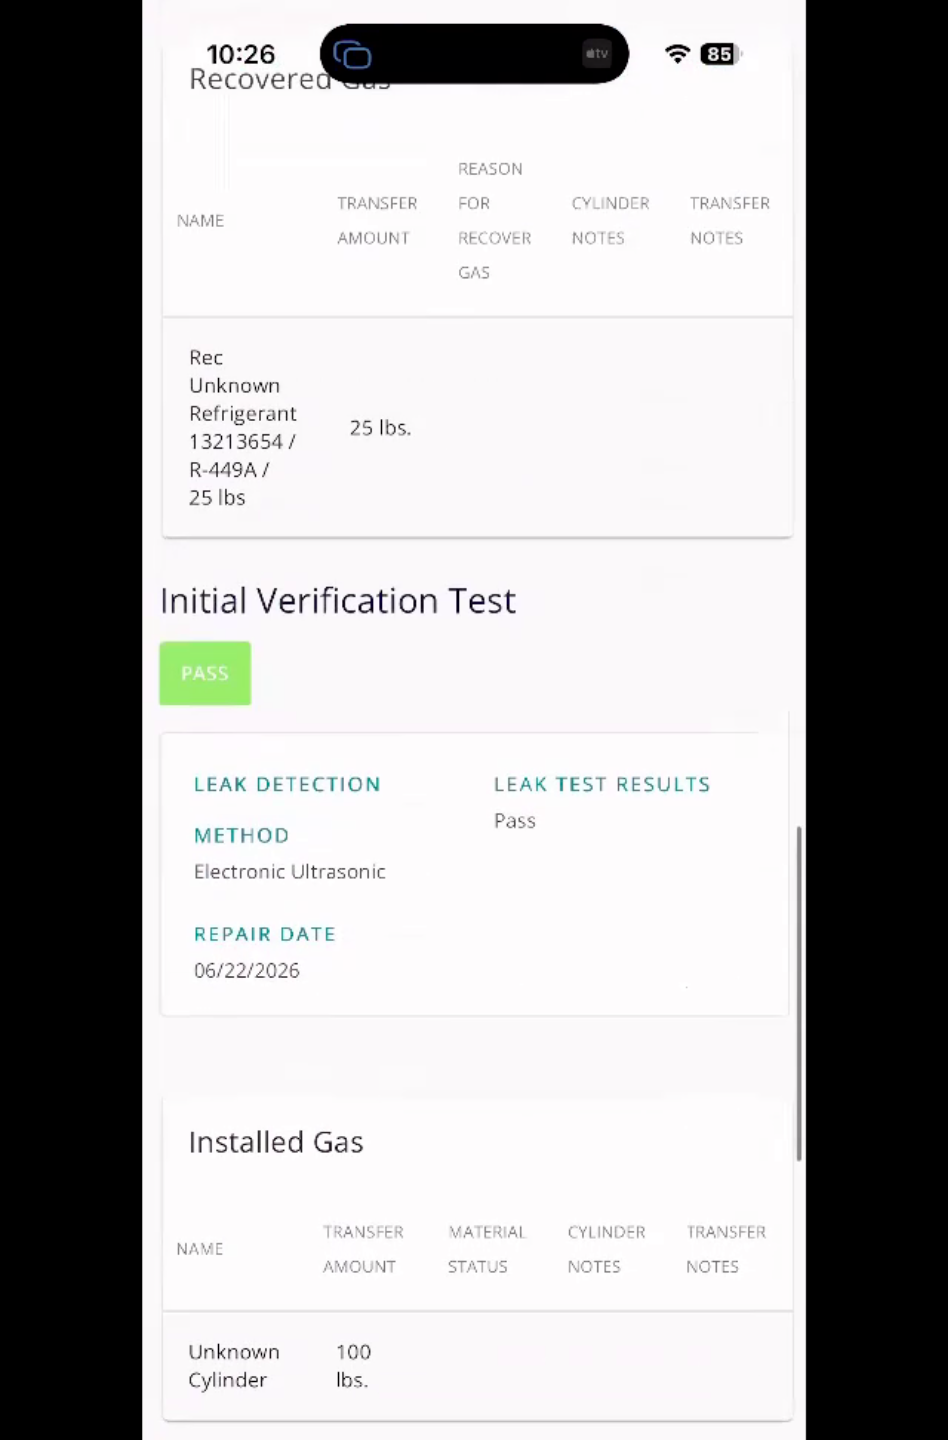
This process is all based on the size of the tank. Scroll down. Please make sure you click on the recover gas button. You'll know that you've done this correctly because you'll see the tank being used and the amount of gas added to it. Then, if you like, you can fill in the rest of the fields; however, they're not required. We'll hit next. Now, we're going into our initial verification test. This asks if we fixed the leak or not. If we did, it would be a pass; if not, it would be a fail. We'll put in our repair date and hit next.
9. Install Gas
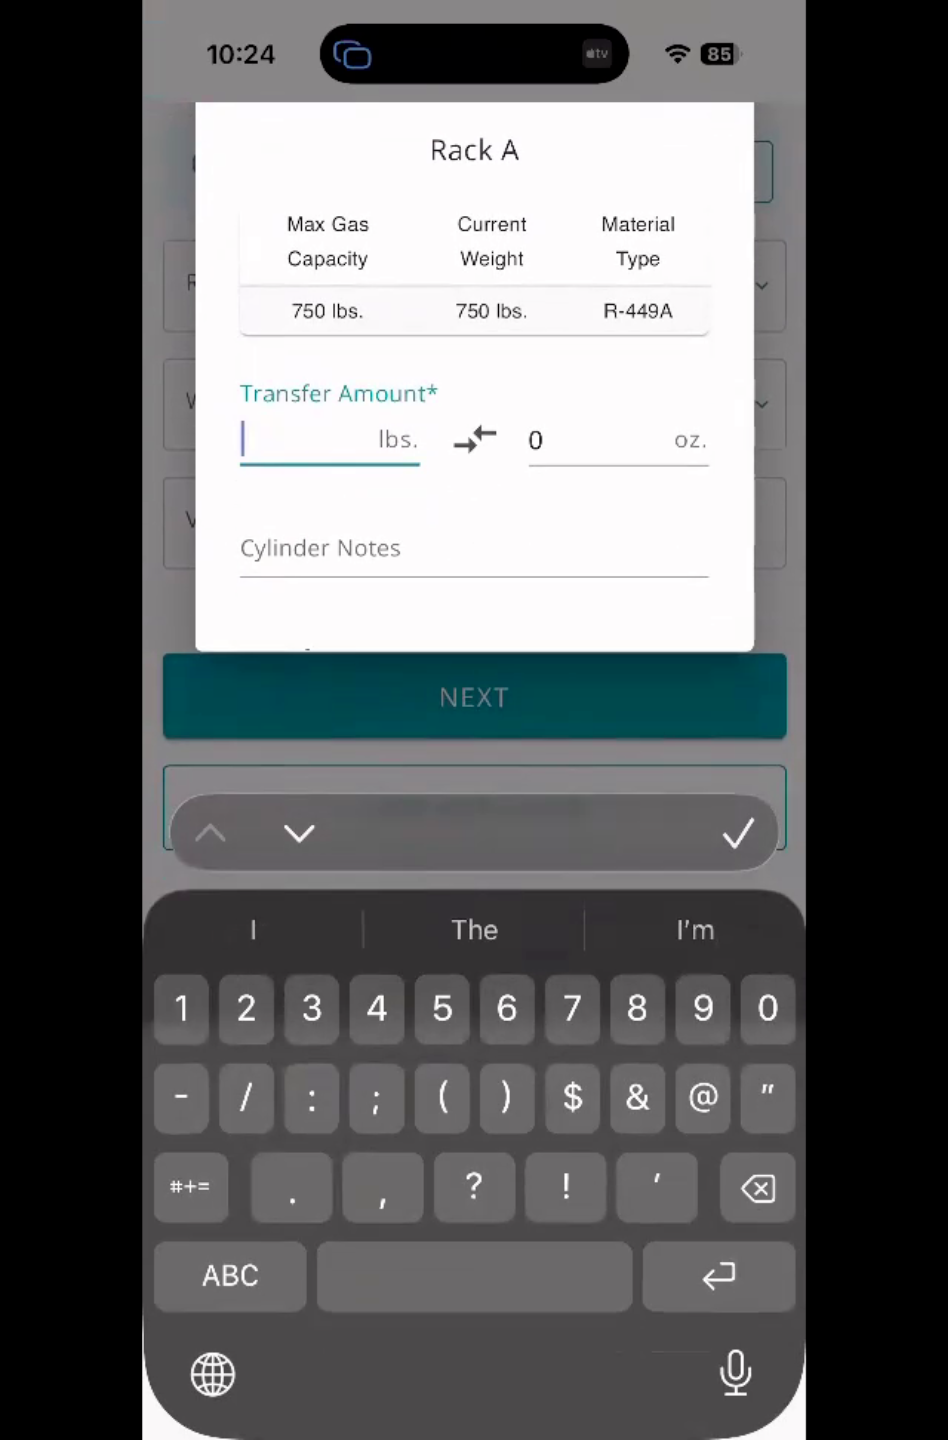
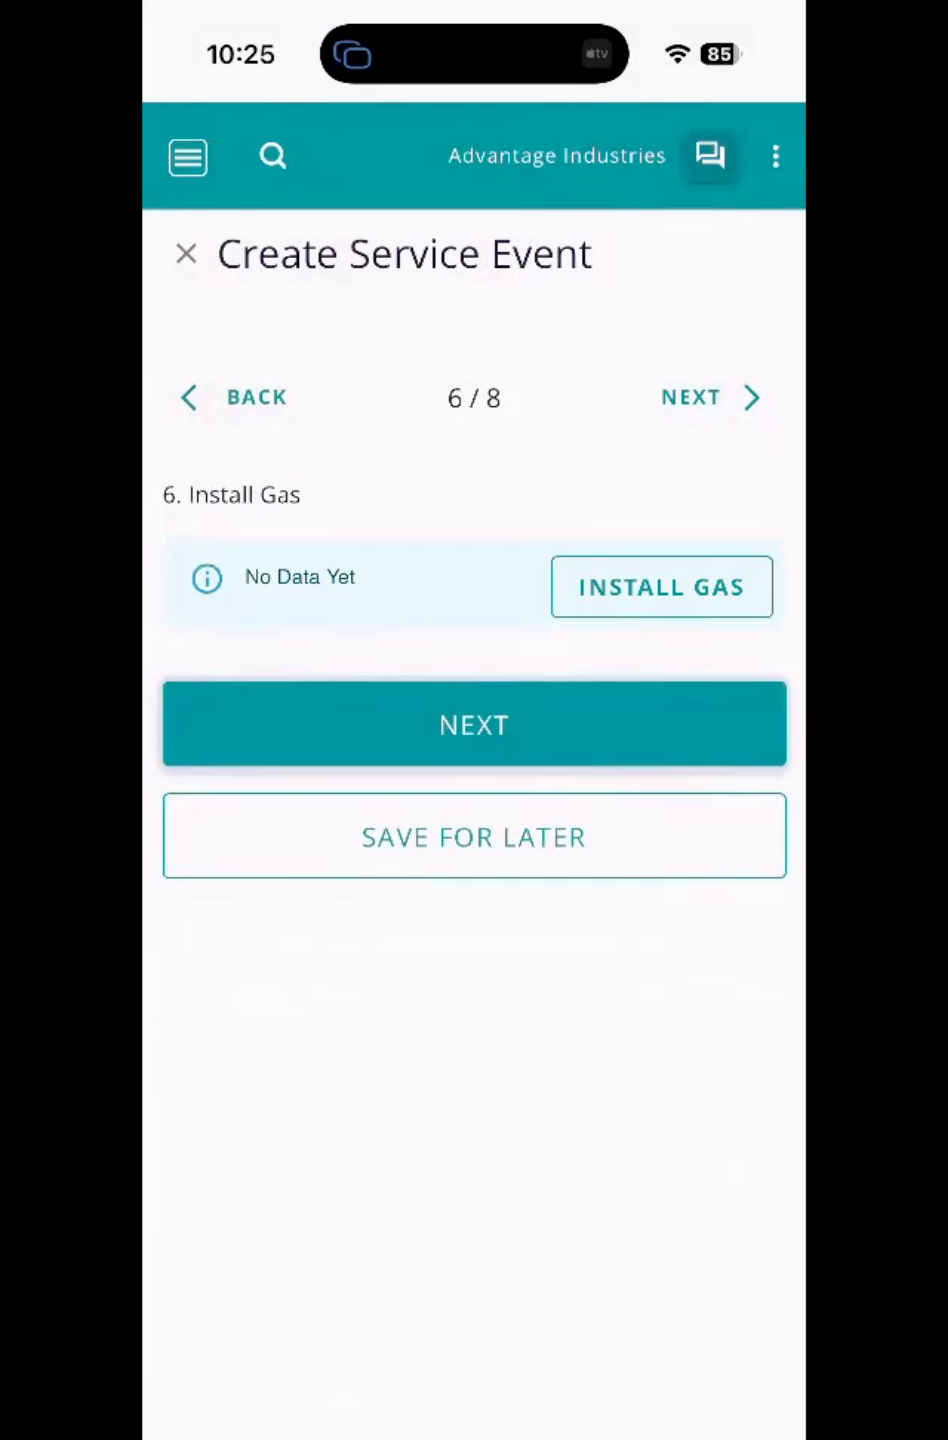
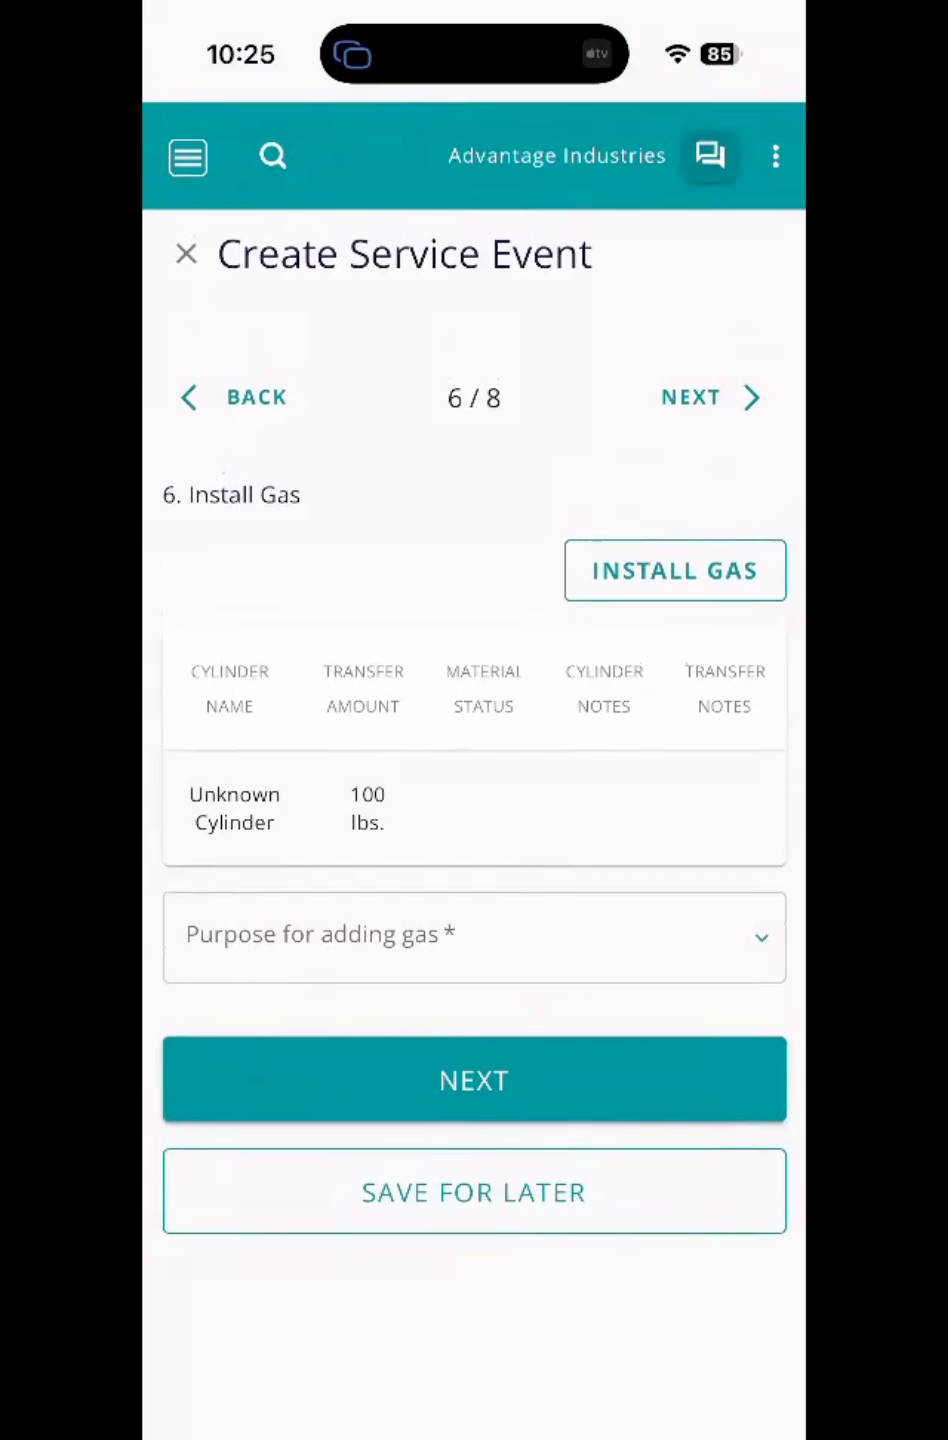
Now under step six, this is the Install Gas. It behaves just like the Recover Gas. We'll go ahead and pick our cylinder. If we had a tagged cylinder there, our virgin cylinder or recovery cylinder that had this gas in there, we would go ahead and pick that cylinder. In this demonstration, we don't have one available for use so we will select Unknown Cylinder. We'll put in the amount, and we'll hit the check and scroll down and hit Install Gas.
10. Purpose For Adding Gas
Purpose for adding gas comes up. We're going to say leak repair. We'll hit next. We'll do our follow-up.
11. Leak Repair Status
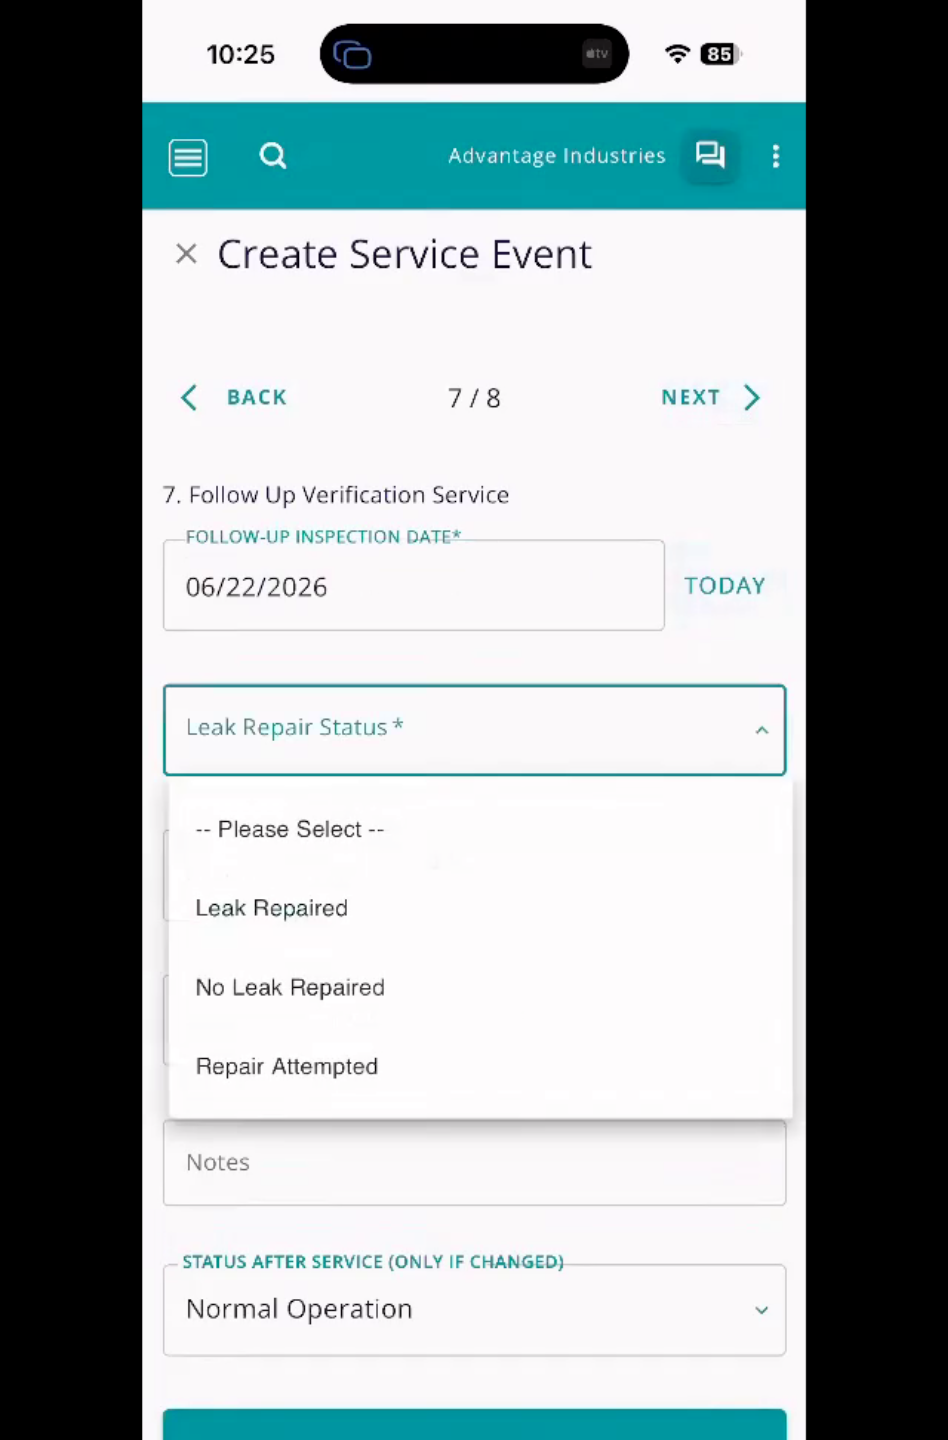
Now we need to know, is the leak fixed? What is the leak repaired status? Did we find a new leak or did the system continue leaking? Select the appropriate leak repair status, if leak was not fixed or new leak was found identify leak category and location. If system is no longer leaking, select No. Then, hit Next.
12. Complete Service Event & View Summary
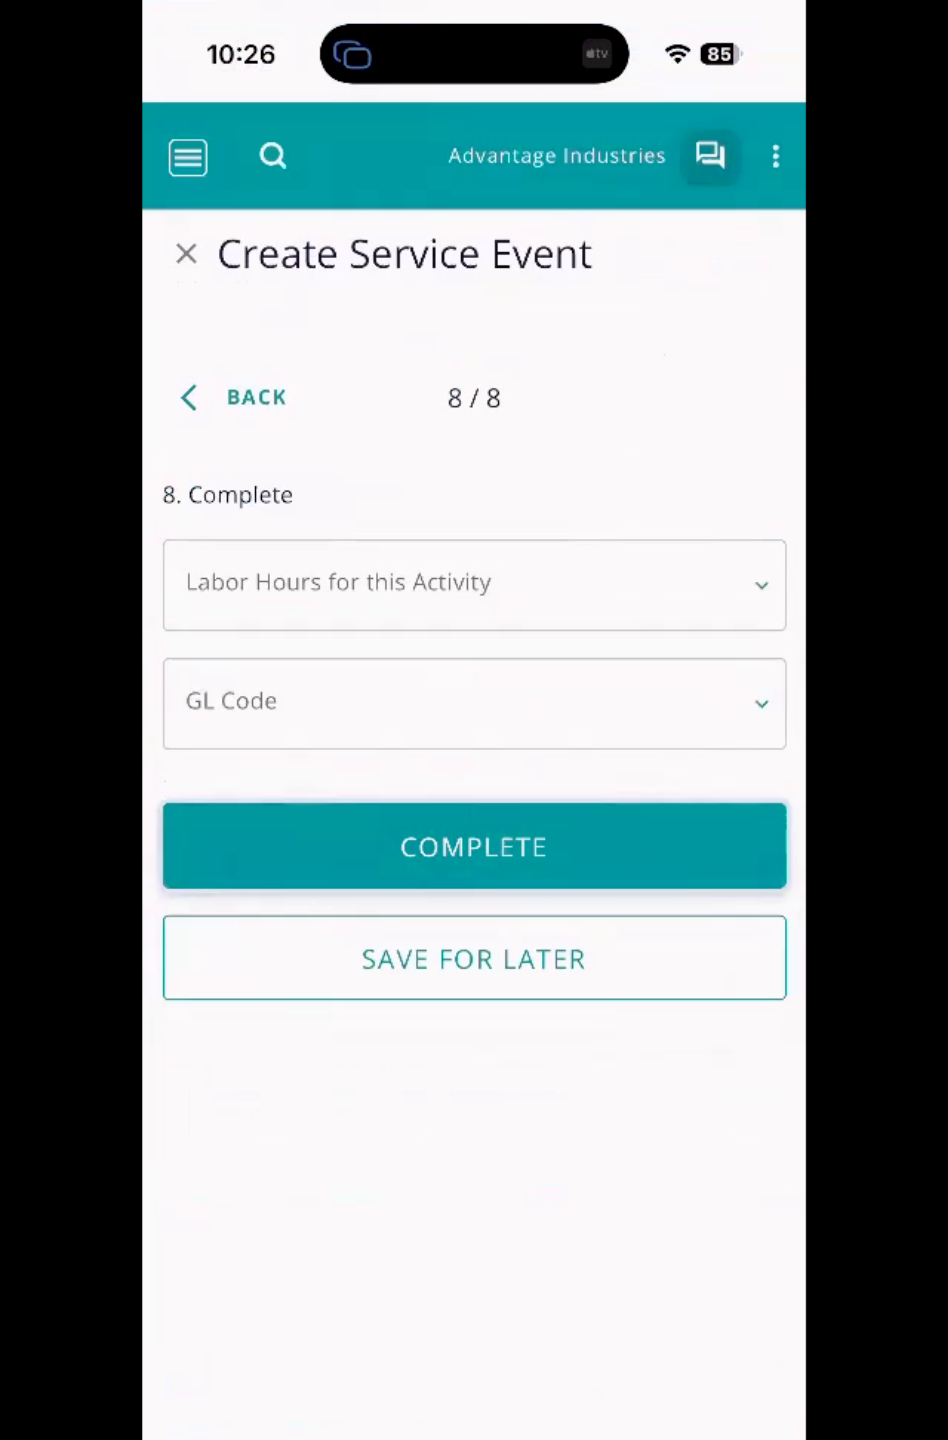
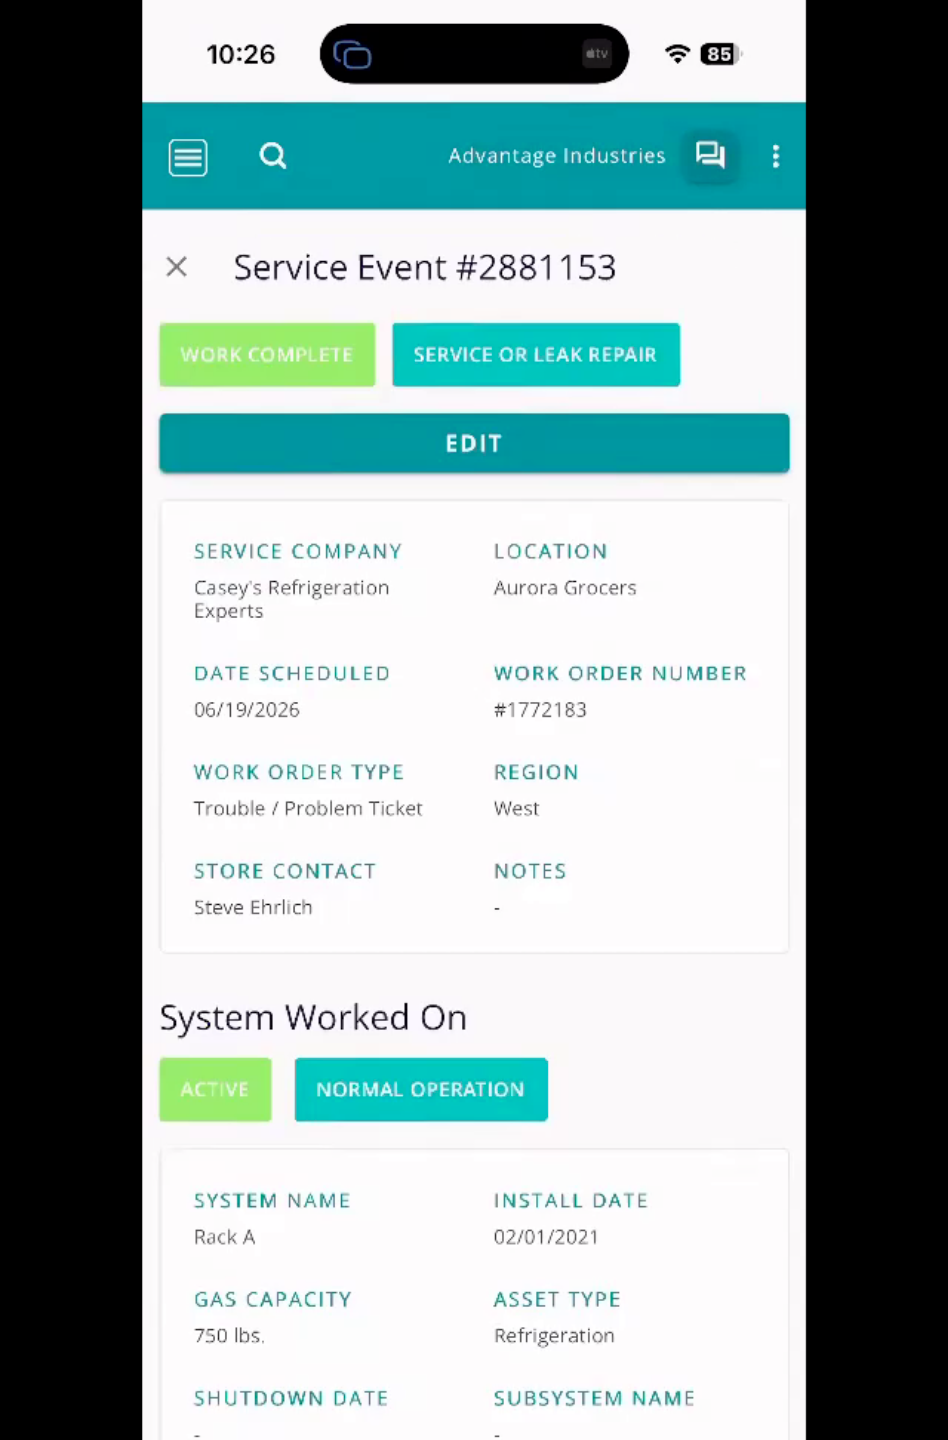
Click Complete, then view service event. You'll get a quick readout of everything that you filled out.
13. Editing Service Event Information
If you need to adjust anything, scroll up and there is an edit button. For example, if you pick the wrong cylinder, you can go in and adjust this using the edit button.
14. Return To Work Order Overview
Now to get back to where we were, we'll click on the work order number, and now you will see your service event on the work order.
15. Add Additional Service Events
If you need to add additional service events, you can do that by selecting the Create Service Event button.