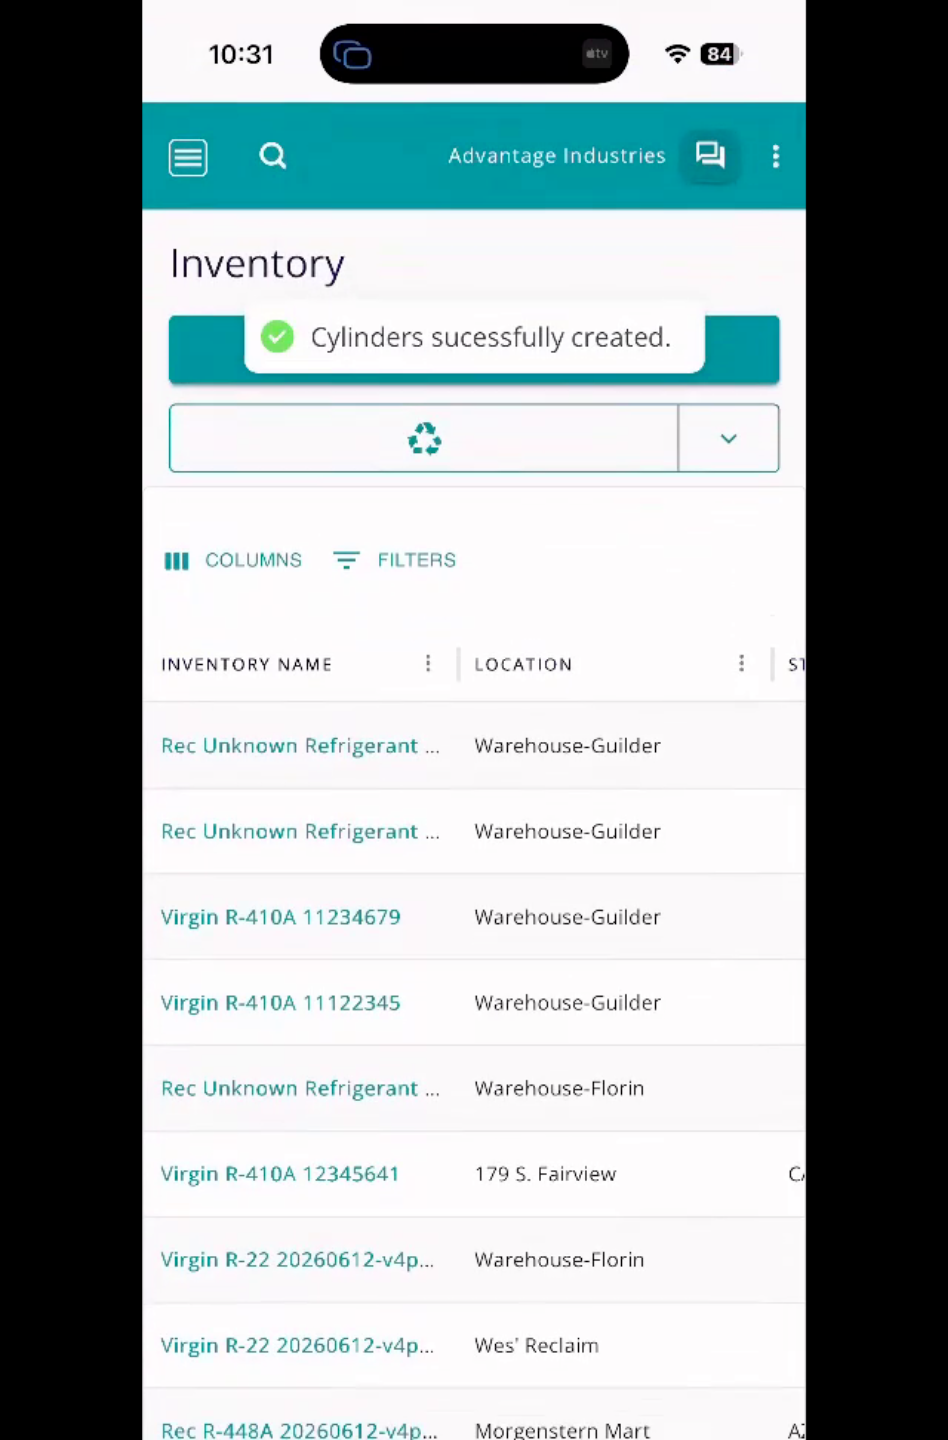
This video demonstrates how to add and manage recovery cylinders in Inventory. It covers selecting inventory details, entering cylinder identification, and tracking gas capacity effectively.
1. Accessing Inventory
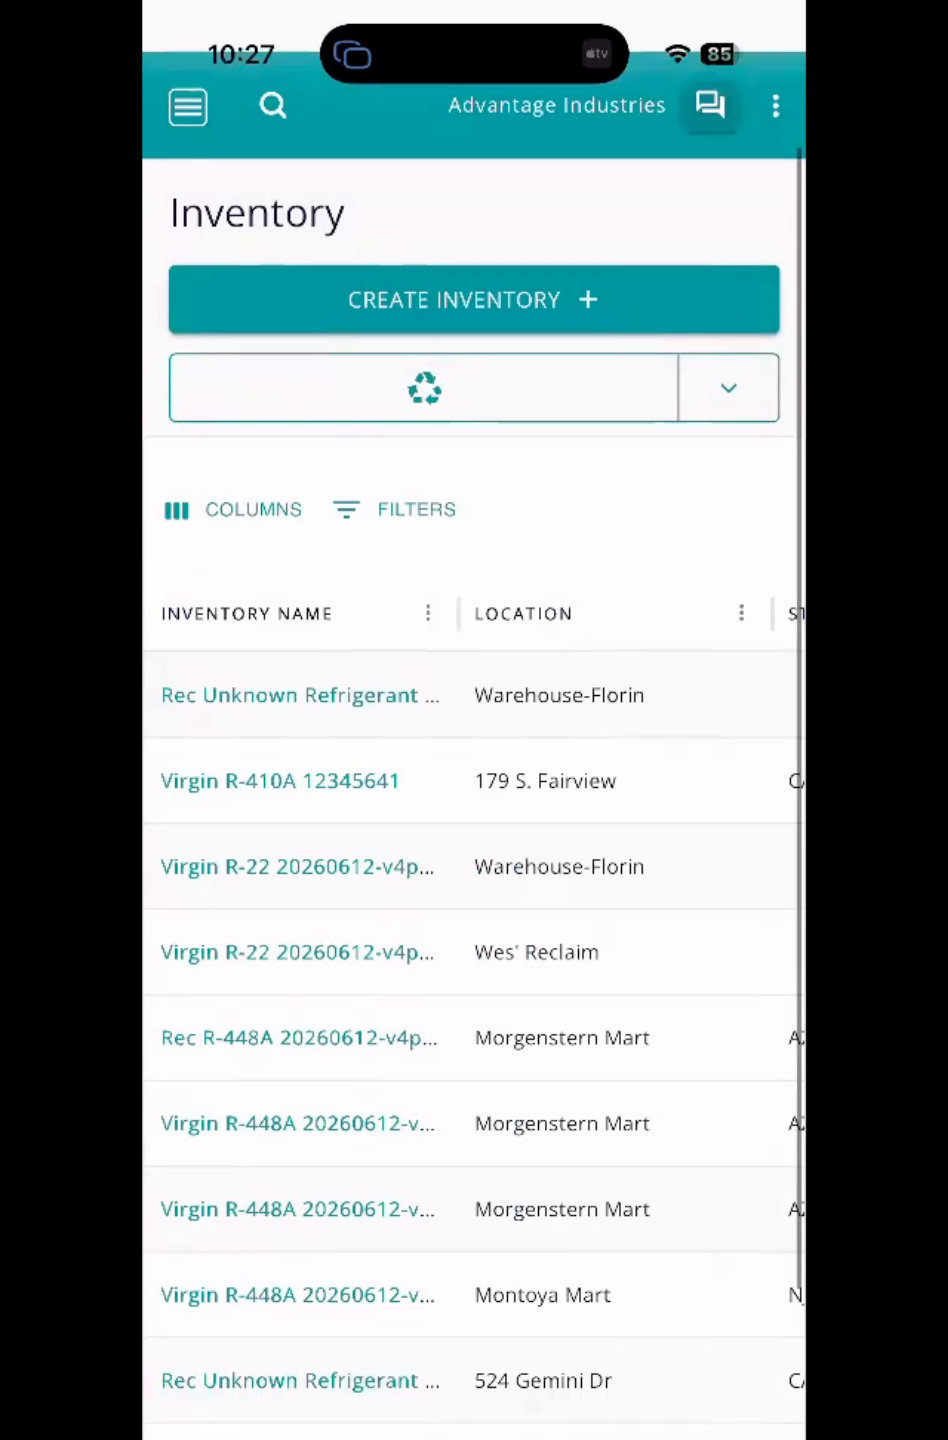
To add cylinders, we're going to come up to the menu and click on Inventory on the left-hand side. Then, select the Create Inventory button.
2. Selecting Recovery Cylinder
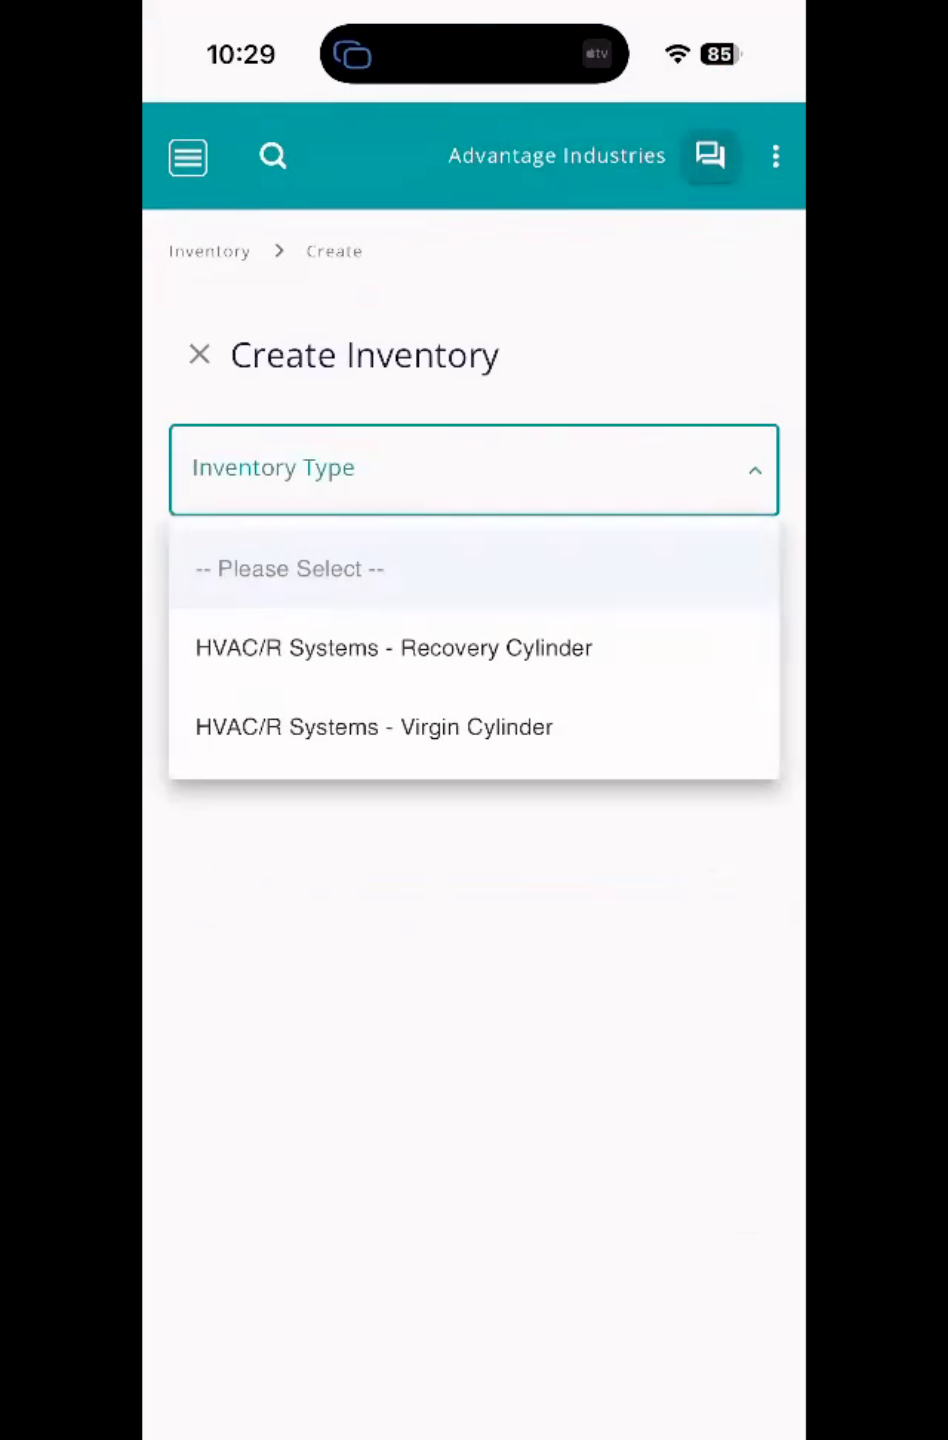
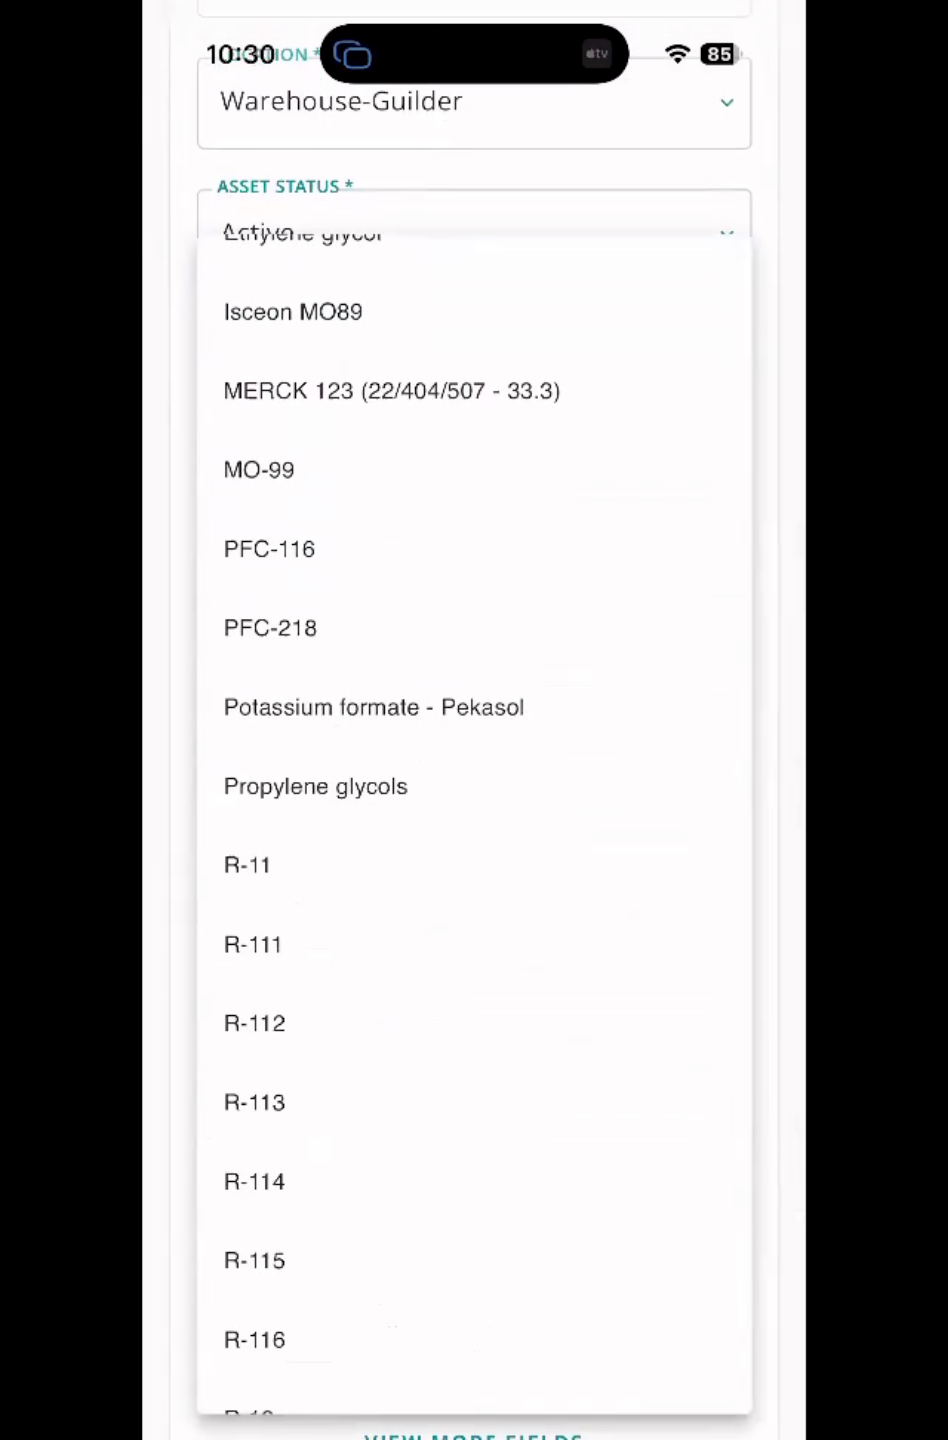
Select Inventory Type as Recovery. If this is a new purchase or acquisition, we'll say Yes when prompted. However, you do need to select the supplier you're getting this from. Your location can be a service location, warehouse, or tech truck for where these are stored. We'll go ahead and select our serial number.
3. Entering Cylinder Identification
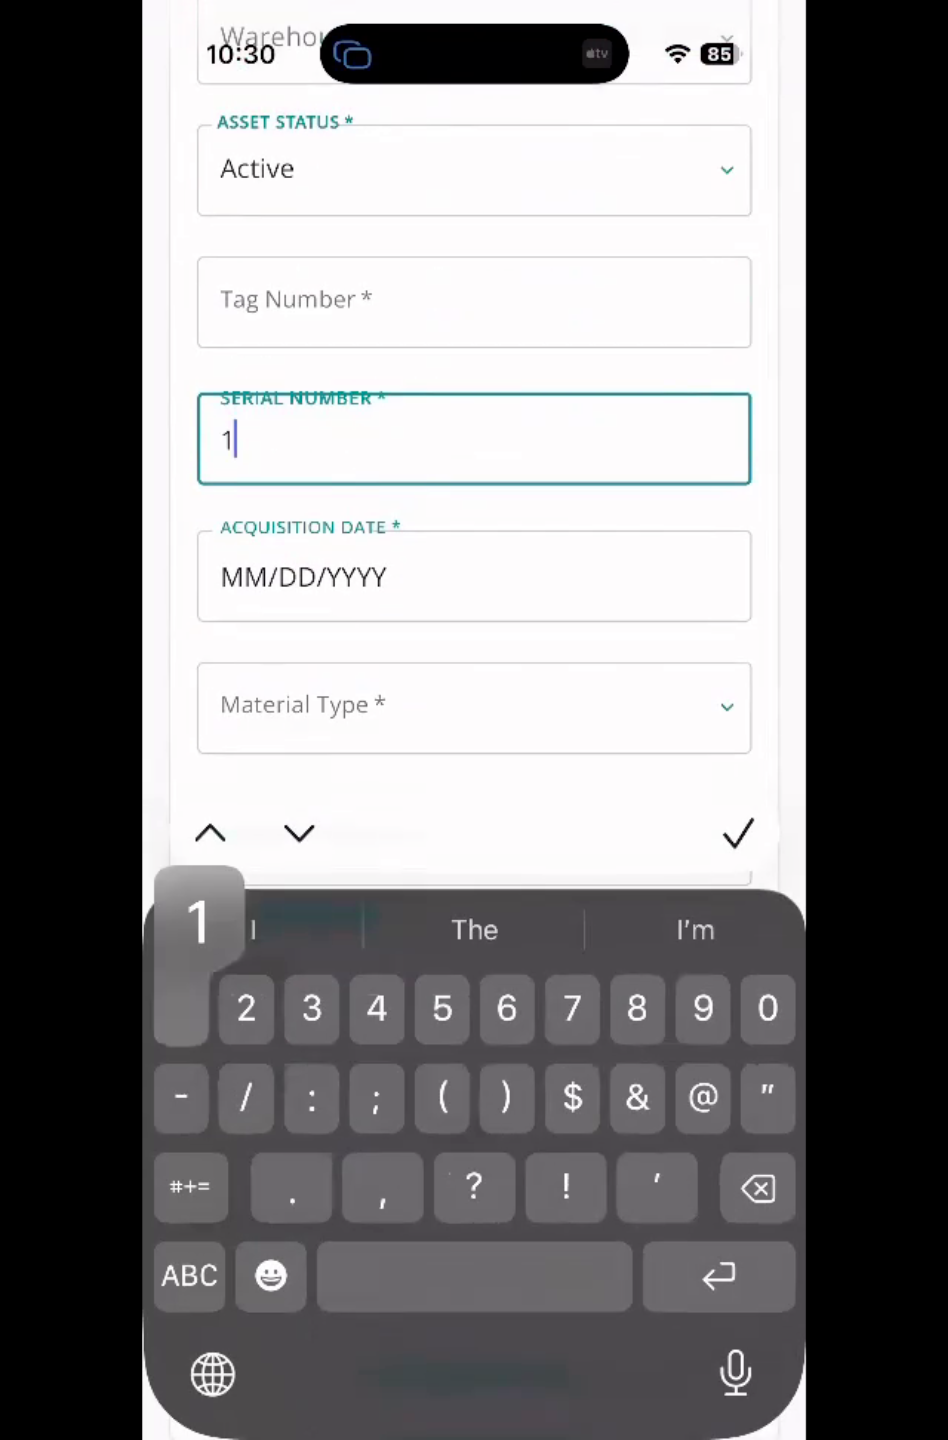
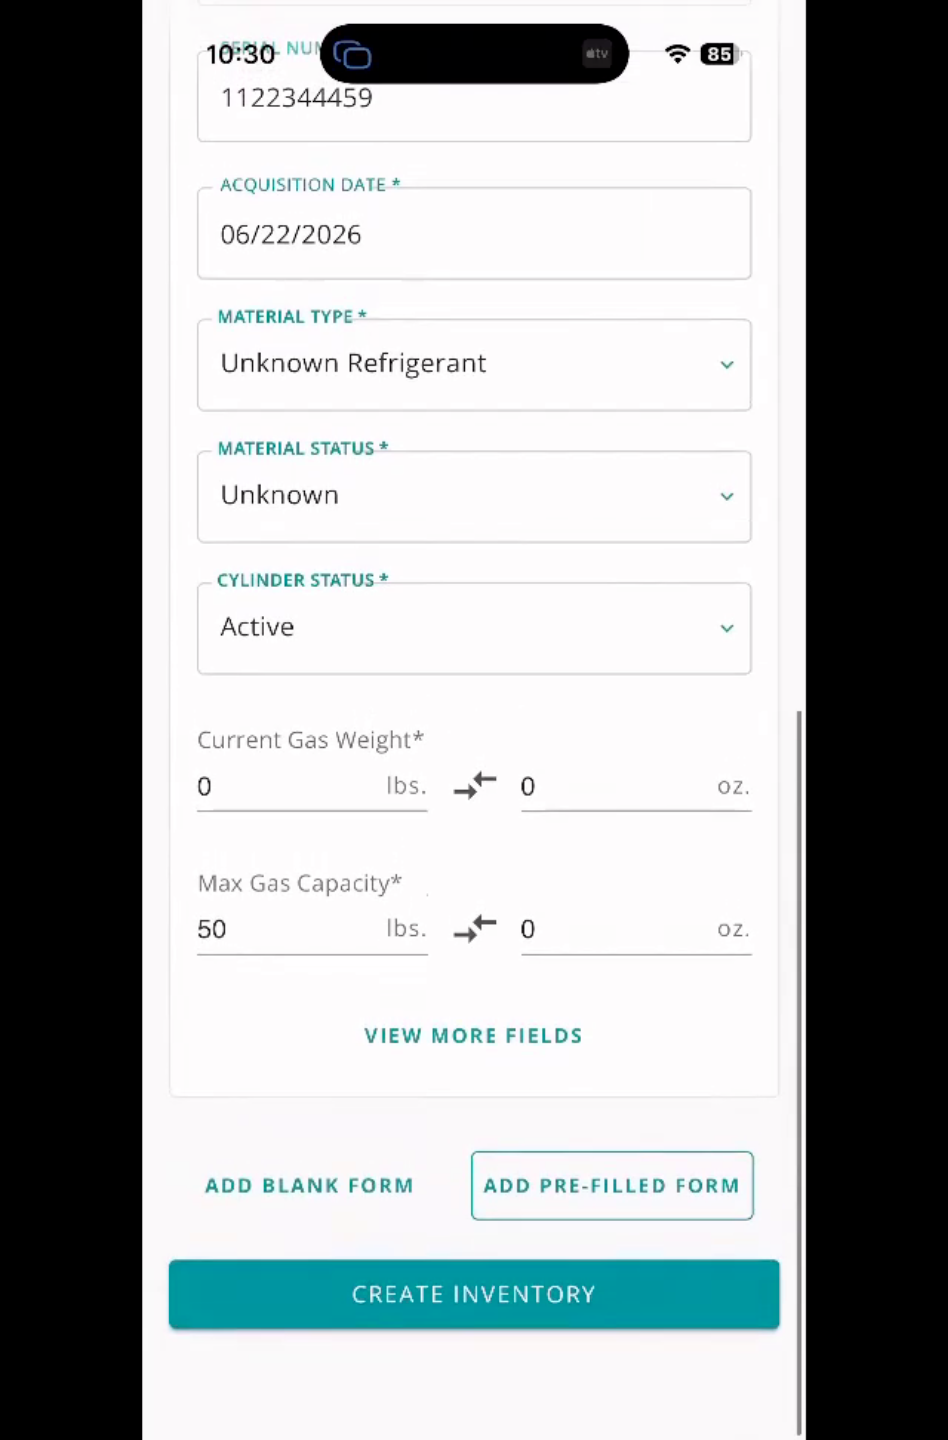
If you have a tag number, you can use that as well. Tag or serial is required. When did we purchase the cylinder? That's our acquisition date.
4. Setting Material Type and Cylinder Capacity
For a brand new recovery cylinder, if we've never used it, you can set the gas to unknown refrigerant. Unknown refrigerant is the placeholder while no gas is in the cylinders. The max gas capacity is the size of the cylinder. So enter what size cylinder this is, and we're going to keep the current weight at zero. As you recover gas into this cylinder, the current gas weight will go up.
5. Using Pre-Filled Forms For Multiple Cylinders
You can use the add pre-filled form button and it will keep all the information the same in case you get a pallet of cylinders or buy multiple. Add the new serial number or tag number of each cylinder and select Add Pre-Filled Form until all your recovery cylinders are added. If you only need one cylinder or once you're done entering multiple cylinders, make sure to select the Create Inventory button to add the cylinder(s) to inventory.
6. Finalizing Recovery Cylinder Entry
After selecting the Create Inventory button, you will see a success message, and your recovery cylinder(s) will appear in your inventory.