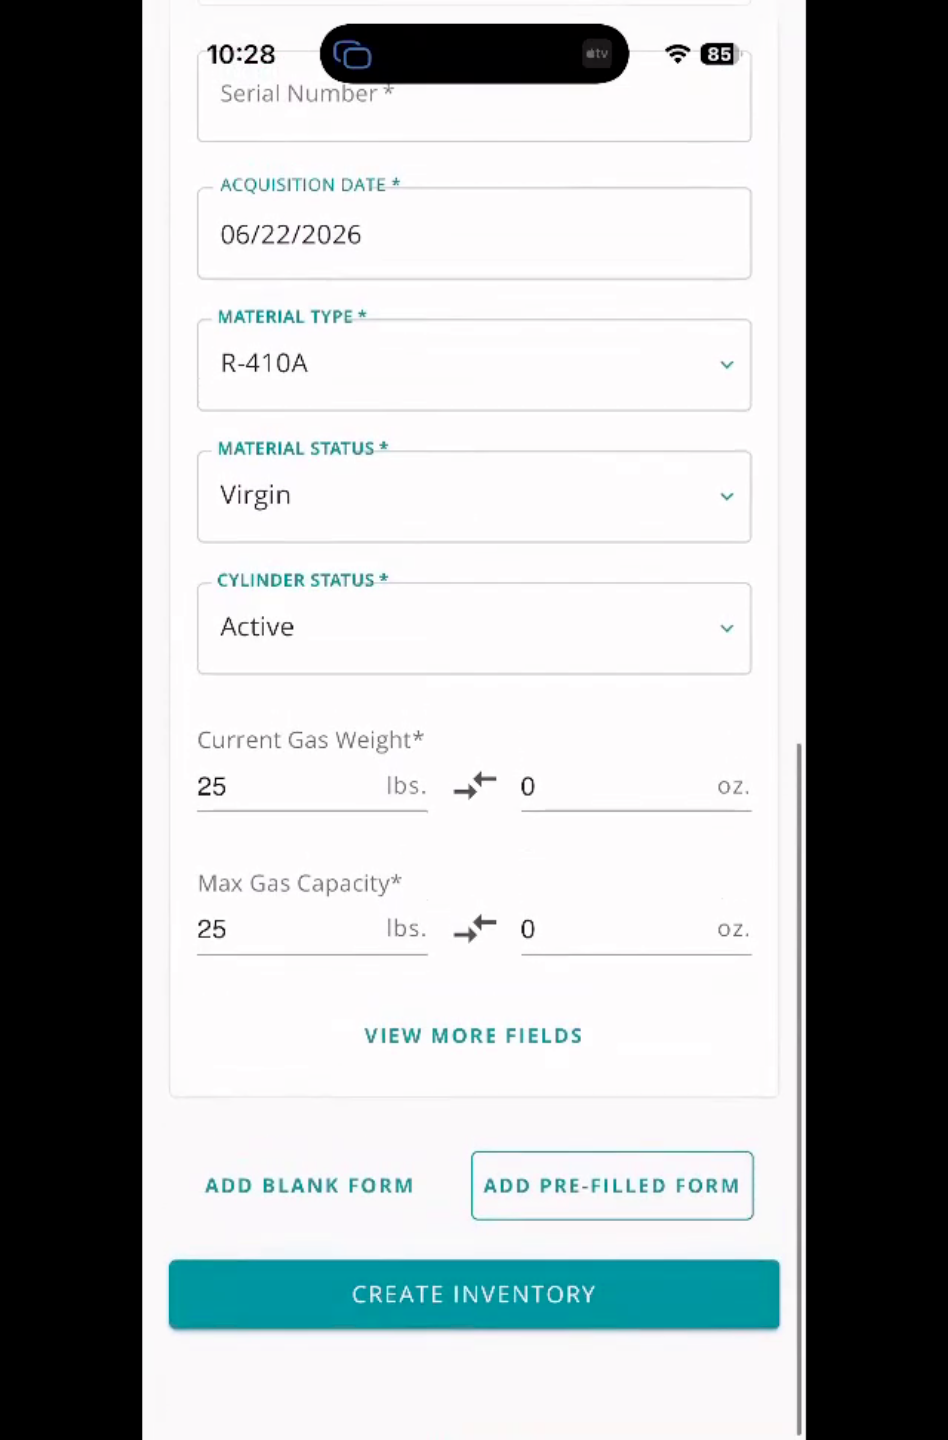
This video demonstrates how to add virgin cylinders to Inventory efficiently. You'll learn how to input supplier details, tag numbers, material types, and manage multiple cylinder entries.
1. Accessing Inventory
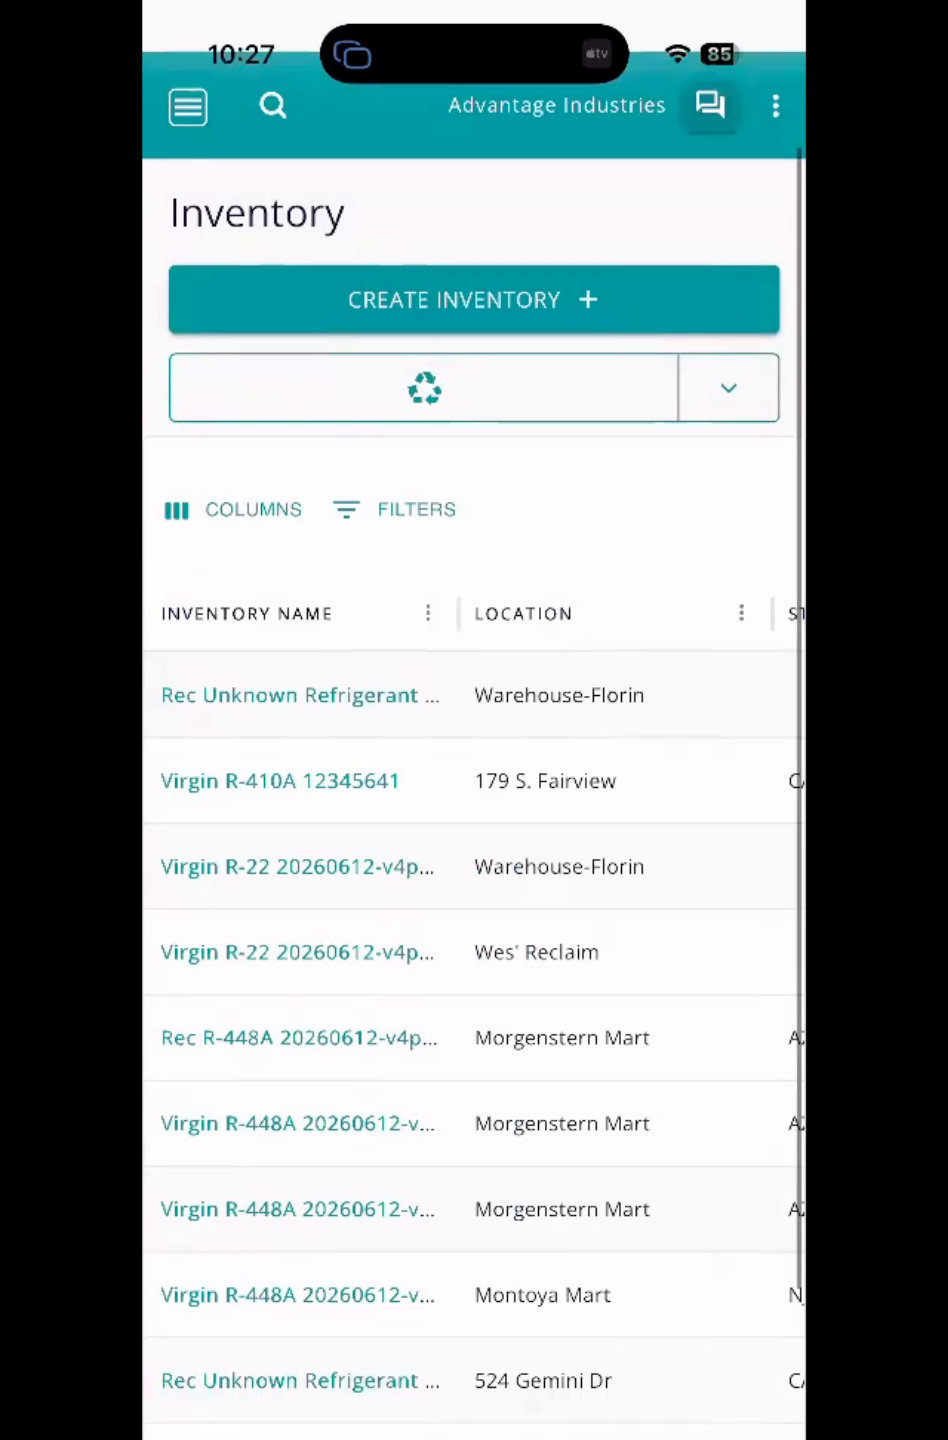
To add cylinders, we're going to come up to the menu and click on Inventory on the left-hand side.
2. Existing Cylinder Review
This is where the cylinders reside. As you can see, we already have some cylinders in there, both Virgin and Recovery.
3. Selecting Virgin Cylinder
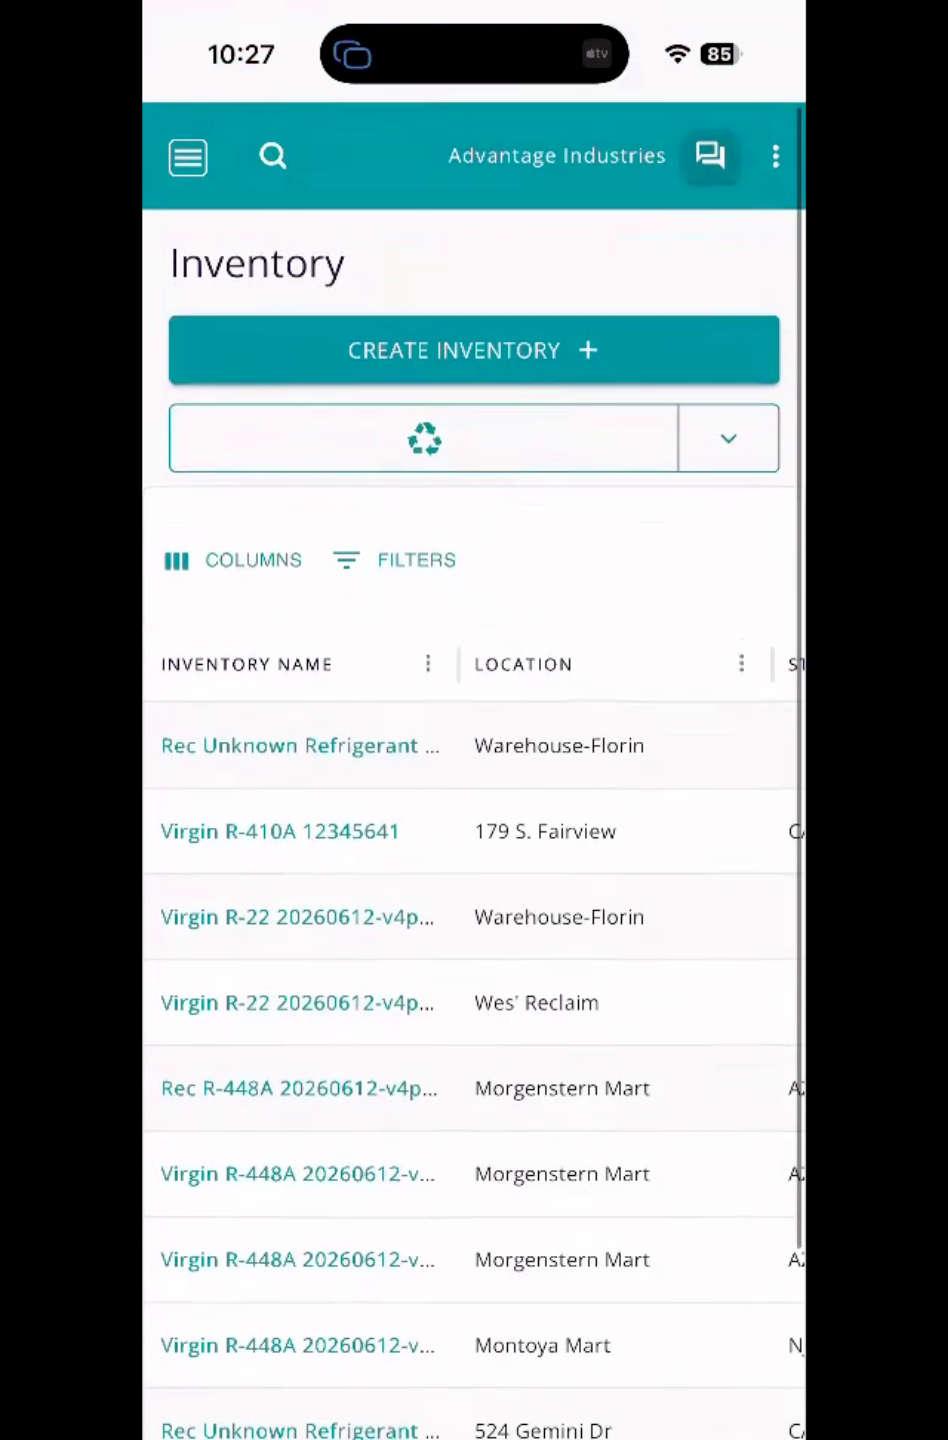
For this, we're going to add a Virgin cylinder. We'll go ahead and click on Create Inventory.
4. Supplier And Storage Details
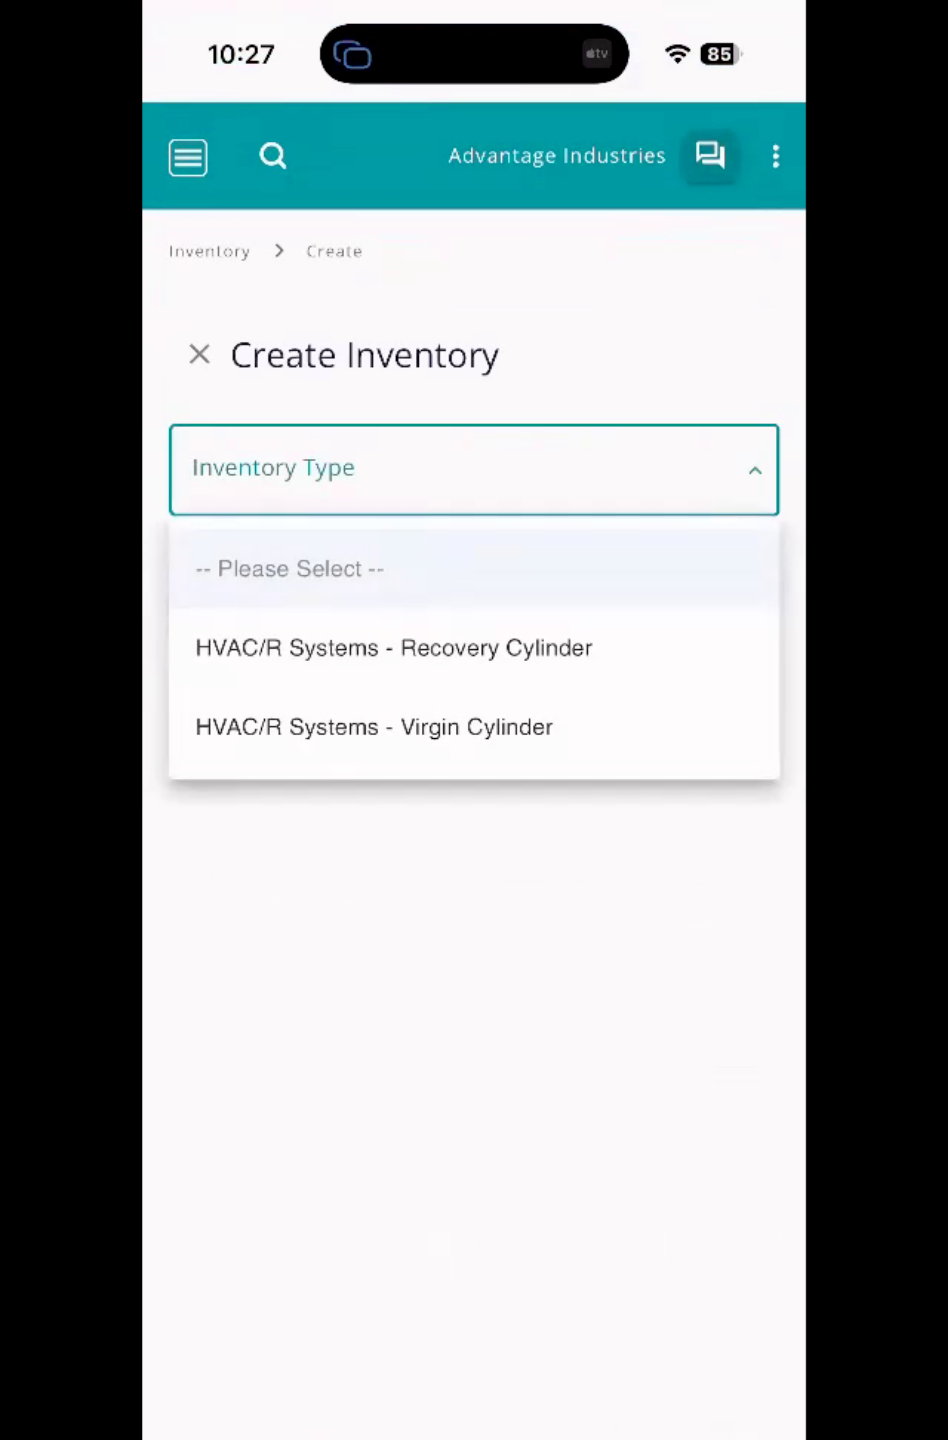
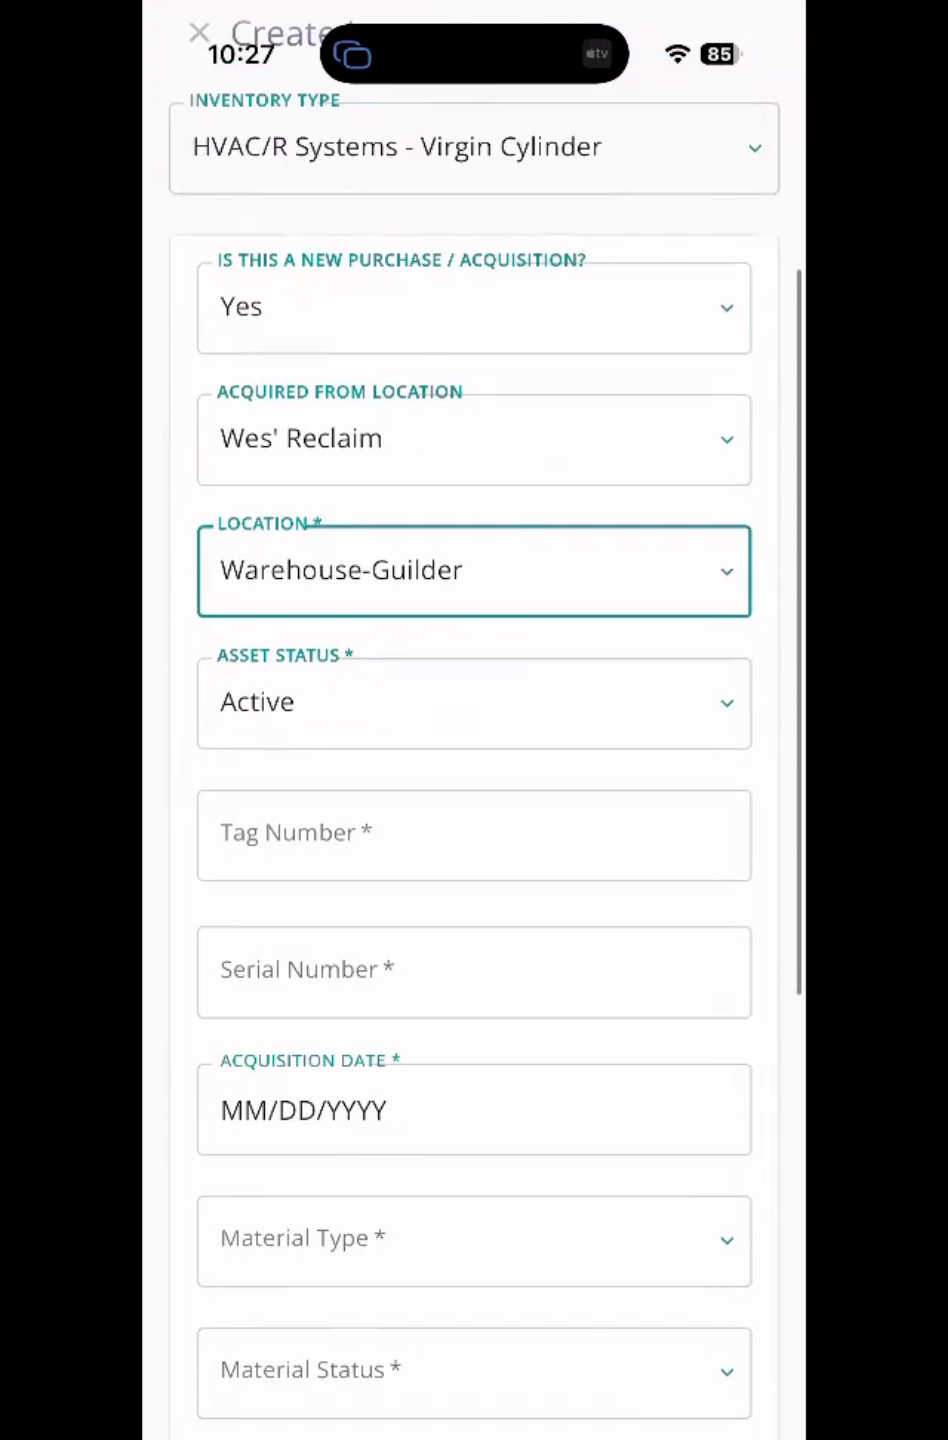
Select the virgin cylinder. If this is a new purchase or acquisition, we need to list the supplier. We'll say where we bought that cylinder from. The location is where we're storing, which could be a service location, warehouse, or tech truck.
5. Tag Number And Acquisition Date
We'll go ahead and put in a tag number. This could be a tag number that you have created or this could be a tag number that your company is using. It's up to you, whatever the tag number is. The acquisition date is when we purchased this.
6. Material Type And Multiple Cylinder Entry
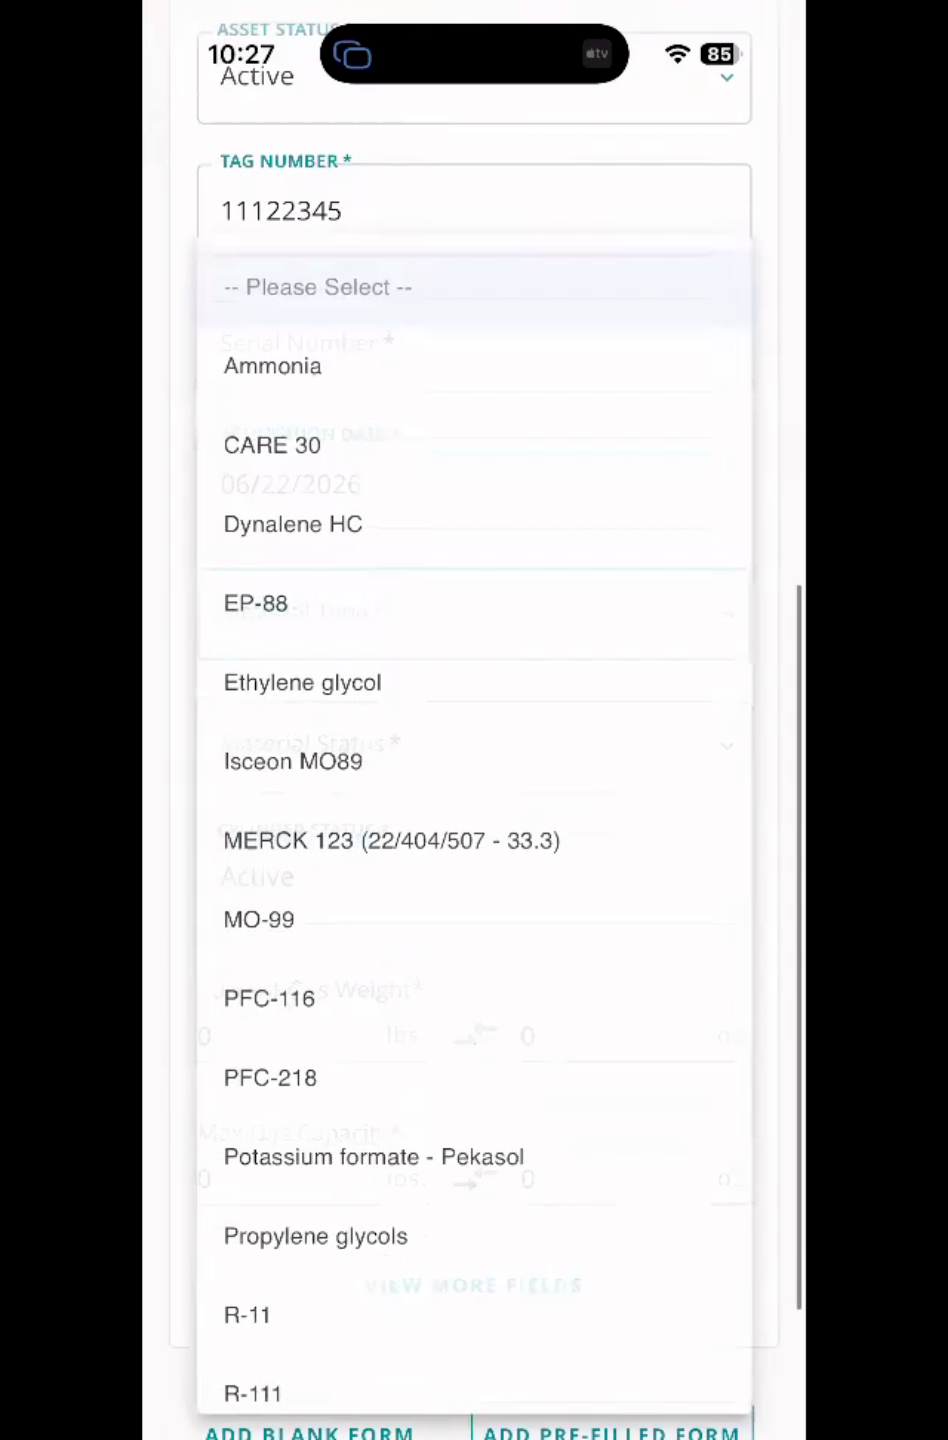
The material type is the refrigerant that's in the cylinder. The material status will be set to virgin because this is a virgin cylinder. Last is the current weight versus the max gas capacity. The max gas capacity is the size of this tank. This would be a 25-pounder, and the current gas weight is how much is currently in it. If you need to add more than one cylinder, you can use the add pre-filled form button. It'll keep all the information the same except for the tag number. This is designed for you to go in and change the tag number so that if you're adding in multiple cylinders or a pallet of cylinders, it's easy for you to do that.
7. Finalizing Cylinder Inventory
When you have finished completing the form(s), select the Create Inventory button to add the virgin cylinder(s) to Inventory.